Interior & Exterior
The demand for scanning cars, old and new, is increasing more and more. Both for copying certain parts and for converting vehicles or adding and modifying elements. That is why we thought it would be interesting to work out a case on this topic.
Introduction
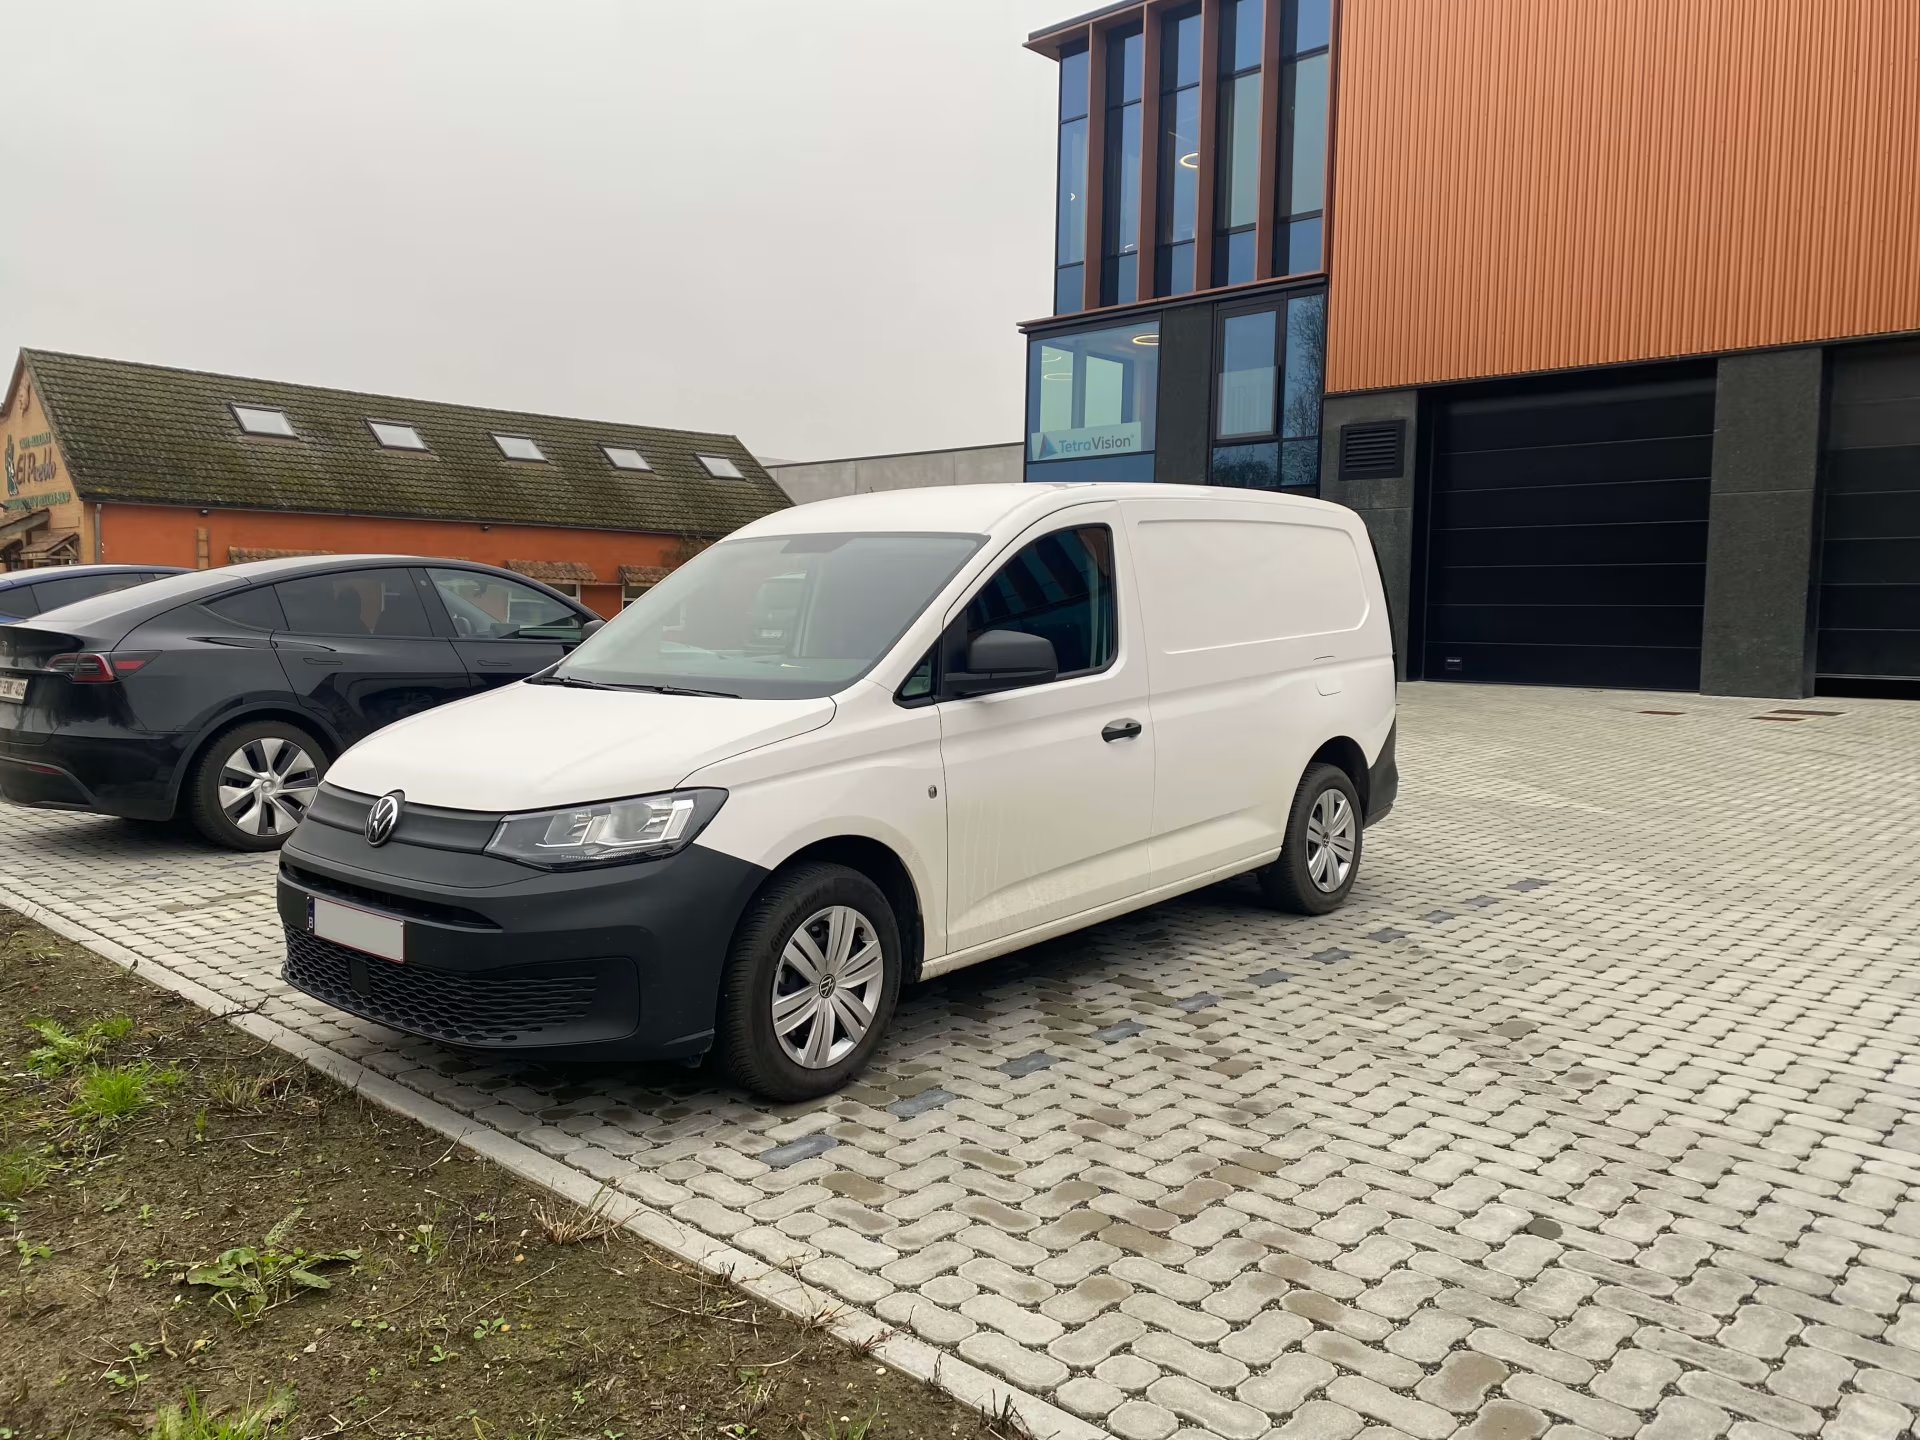
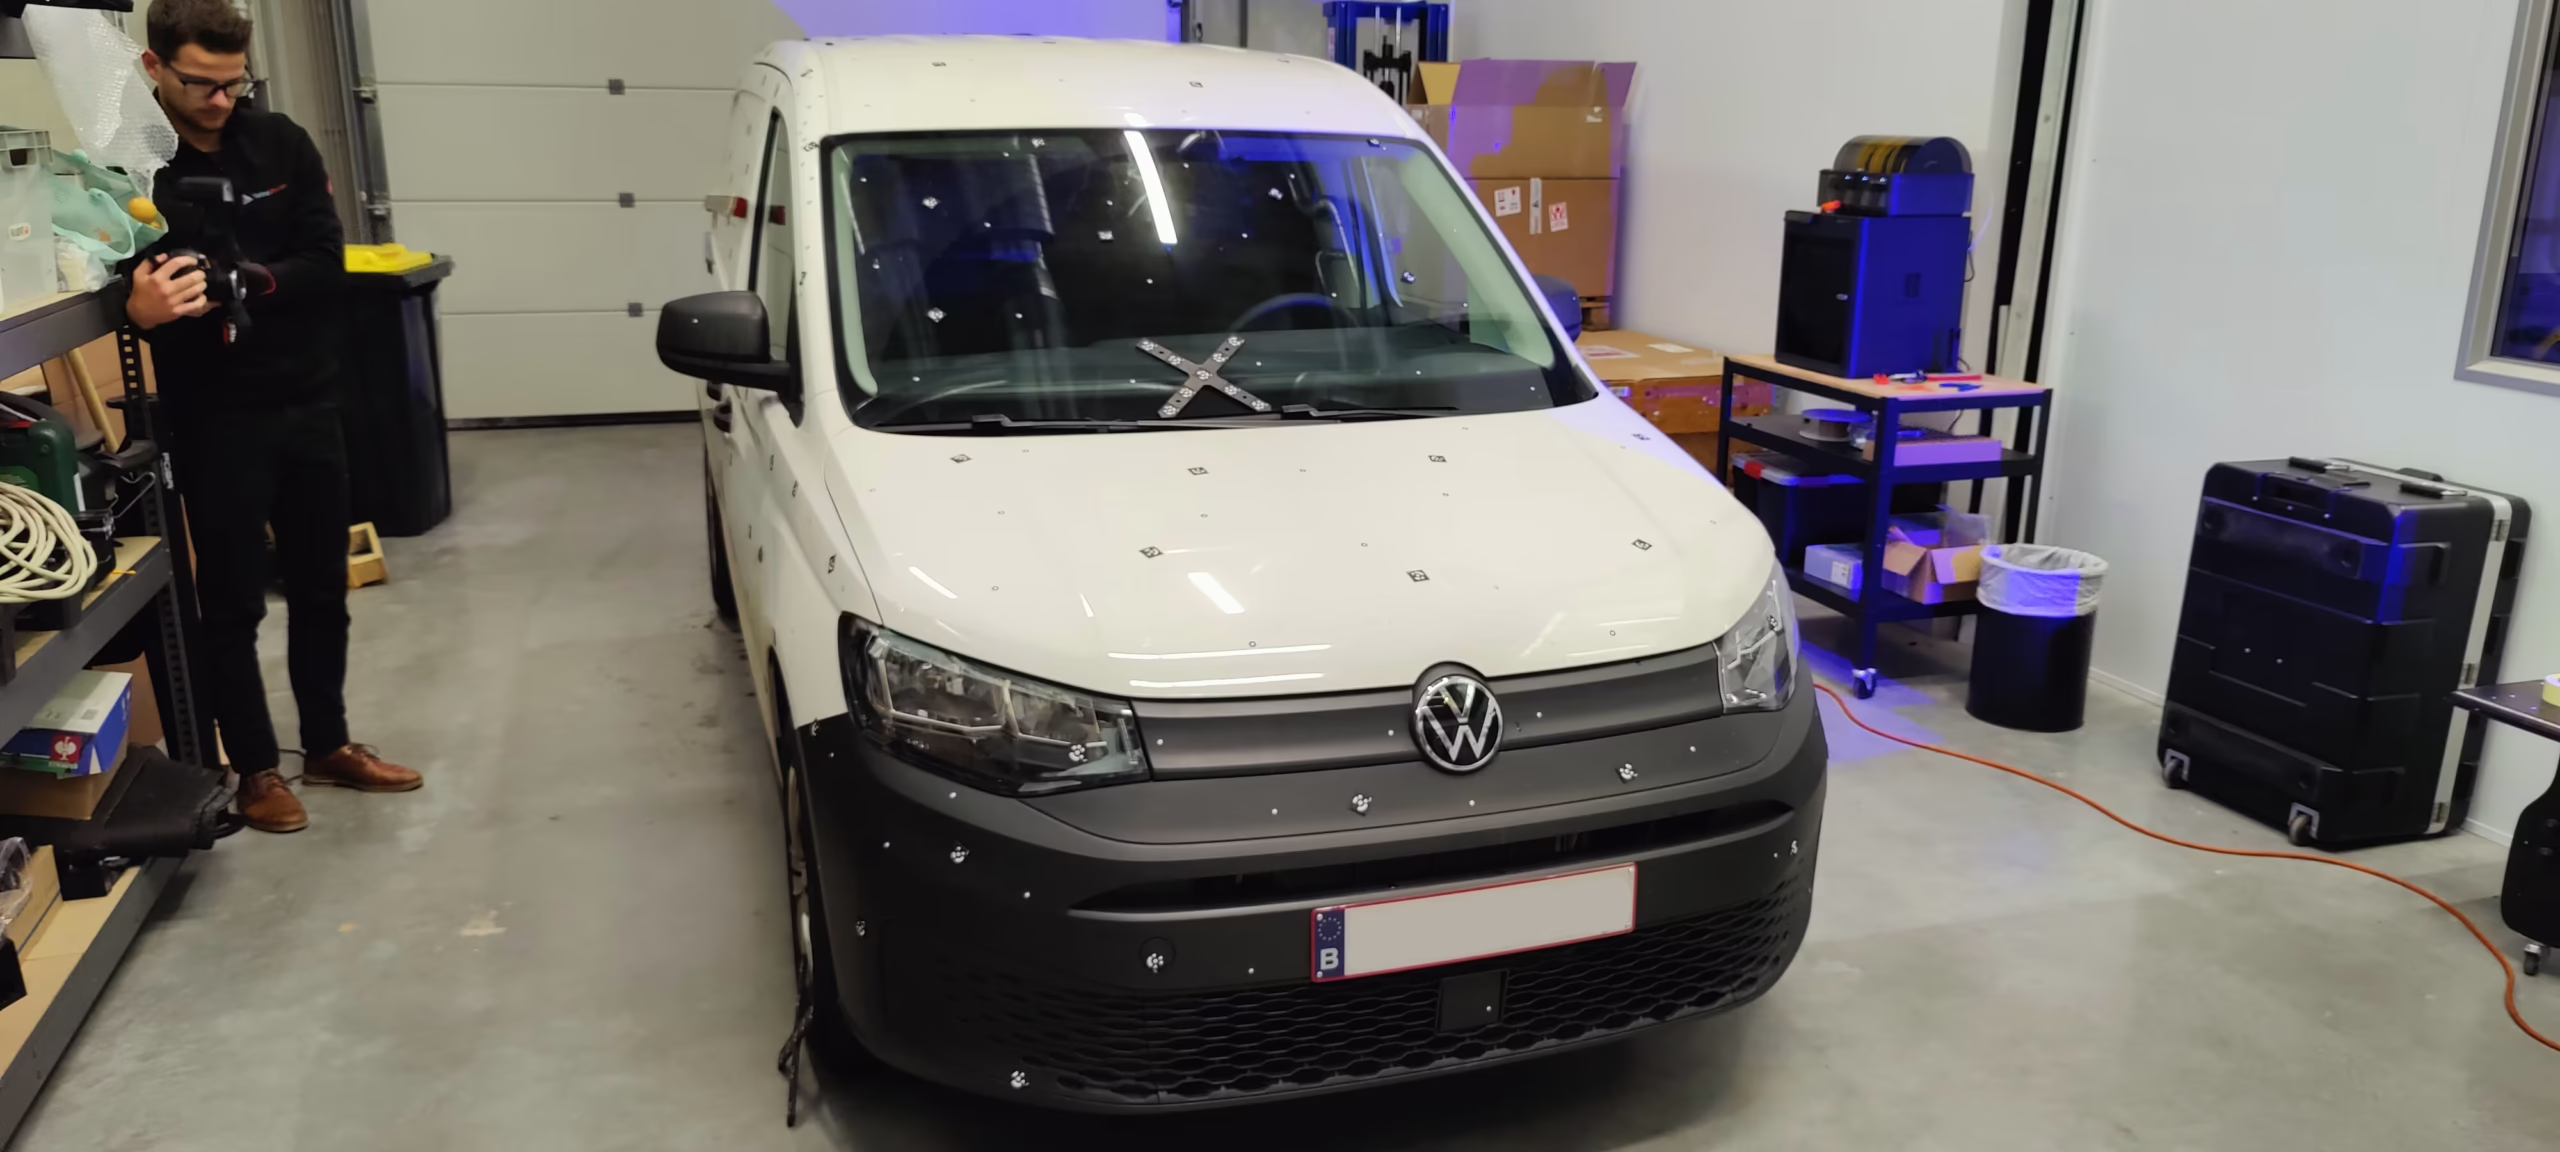
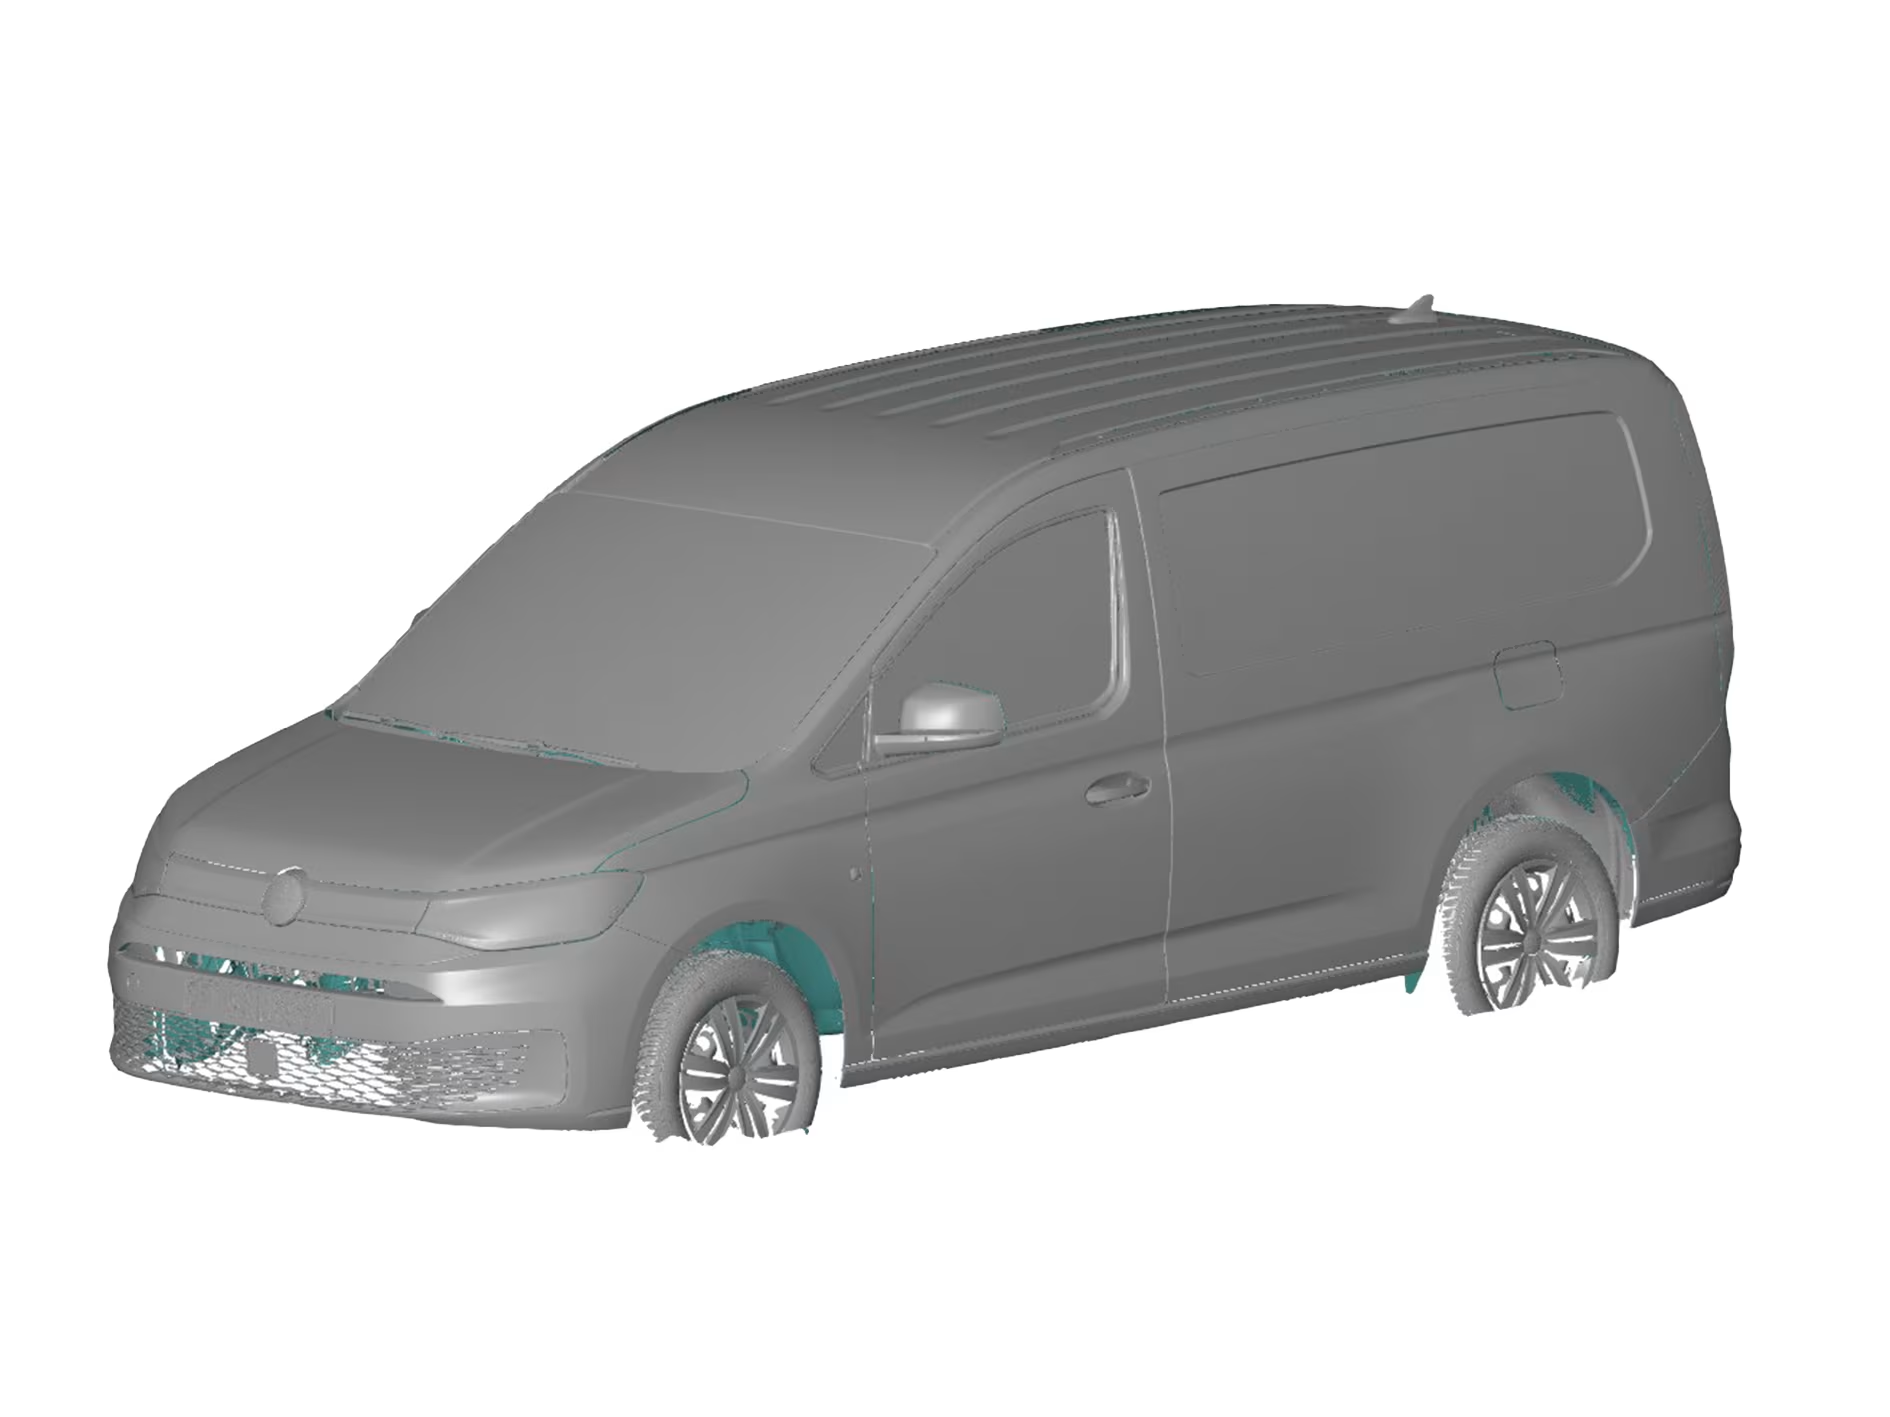
A while ago we purchased a VW Caddy Maxi. We use this van to transport our ATOS III Triple Scan when we have an onsite-scanning project.
Since we have been asked several times whether we can also scan cars, vans and other vehicles, this seemed like a great opportunity to do a full scan of our latest company car, inside and out! This allows us to continually optimise our scanning method and technology for digitising such a large object.
Set-up
To create the entire scan, we used 3 different technologies:
- T-Scan Hawk 2
- Tritop
- ATOS III Triple Scan
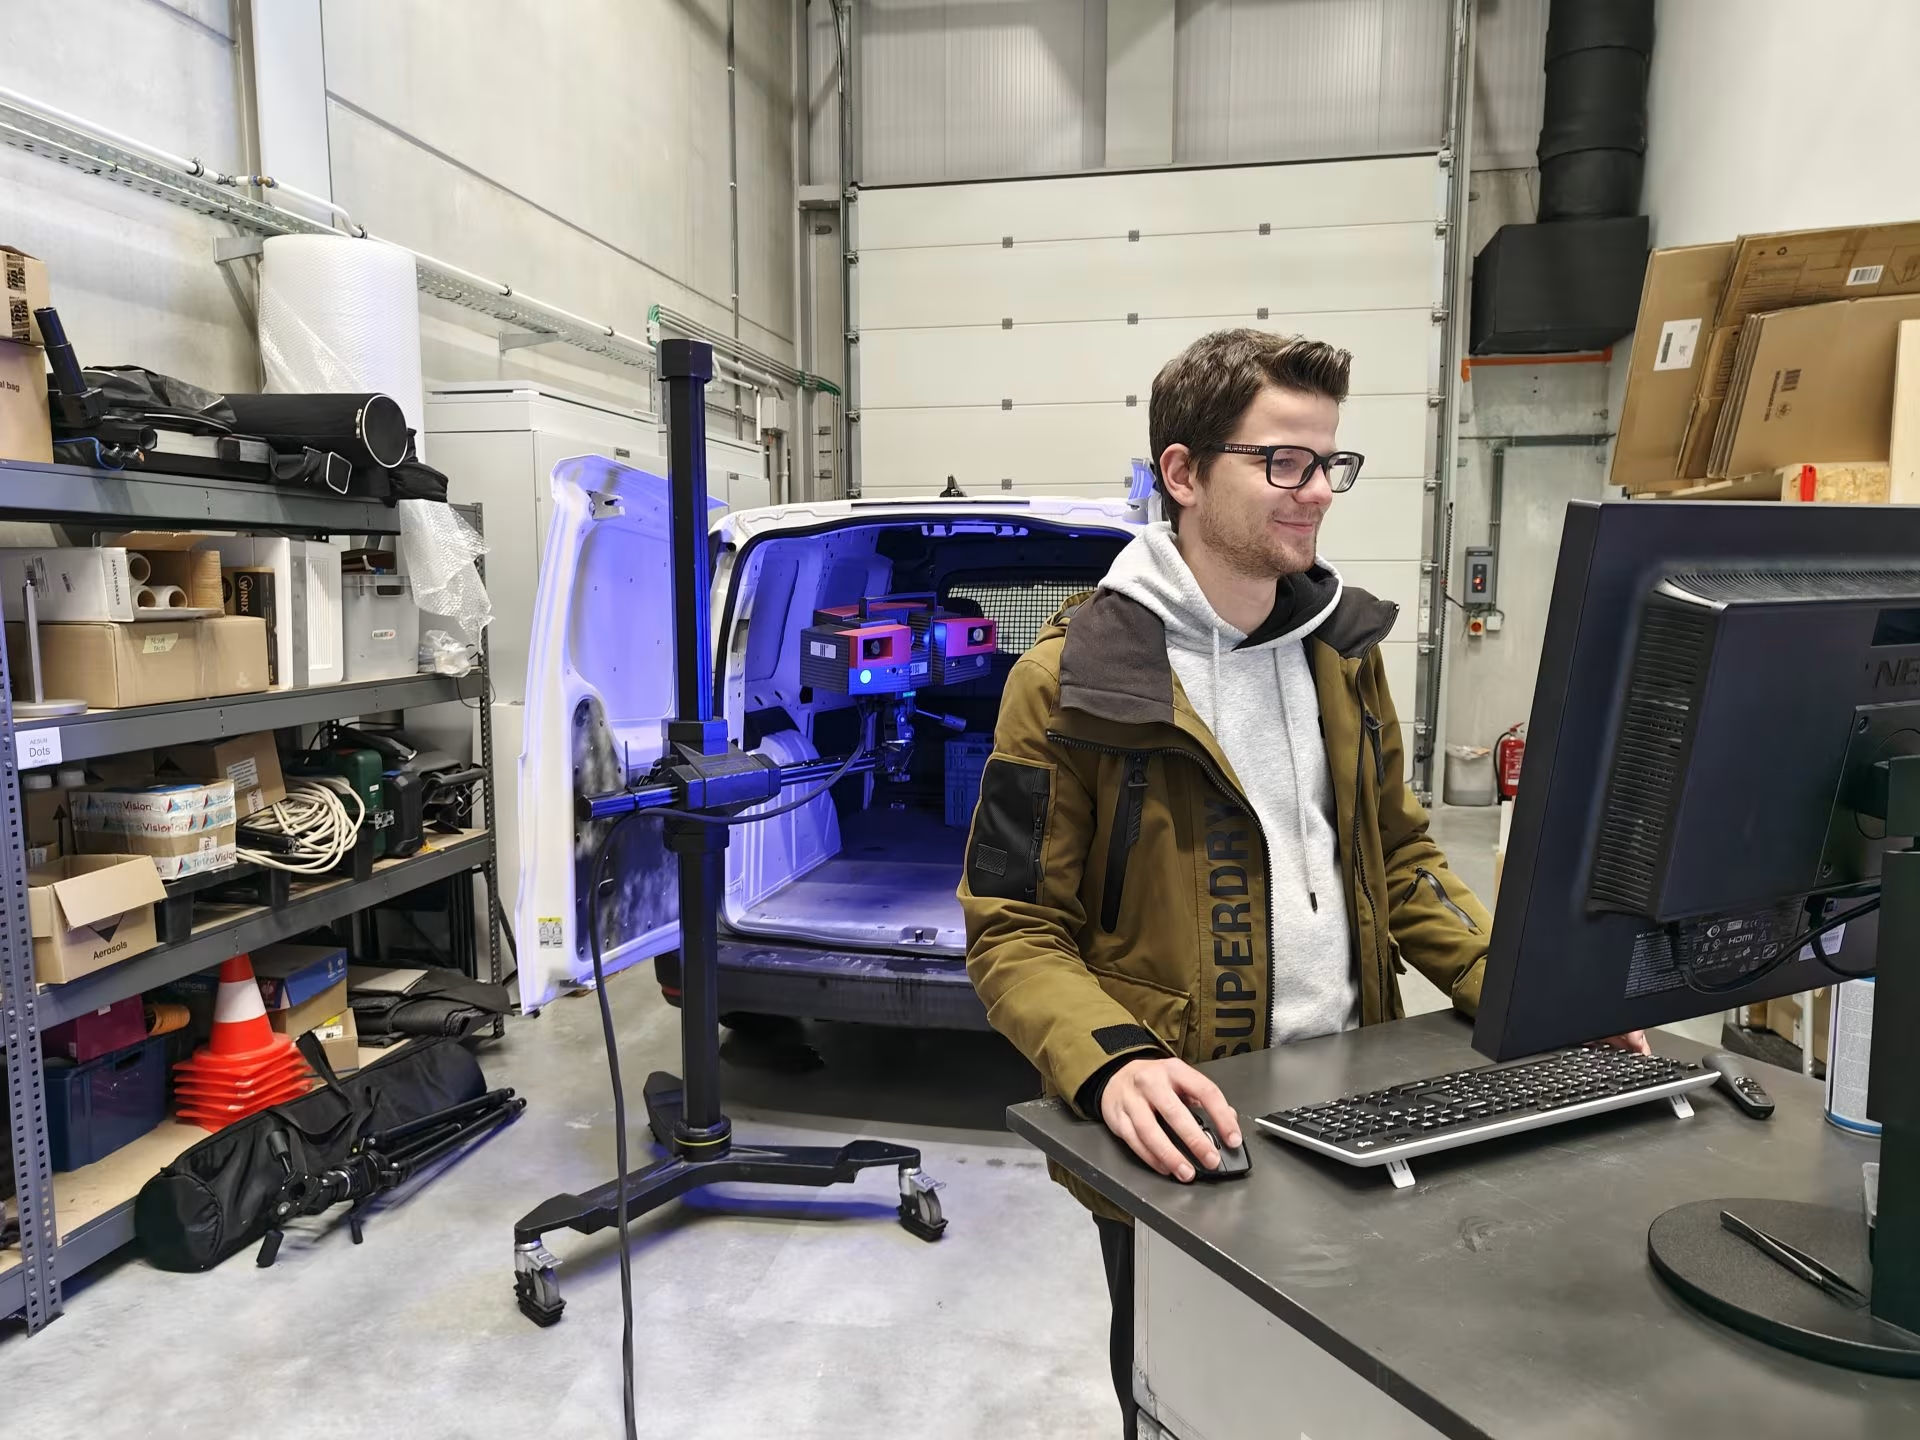
By combining these 3 technologies, we obtain optimal results. We did the scanning in our own garage, where we have more than enough space to move around the vehicle with our scanners.
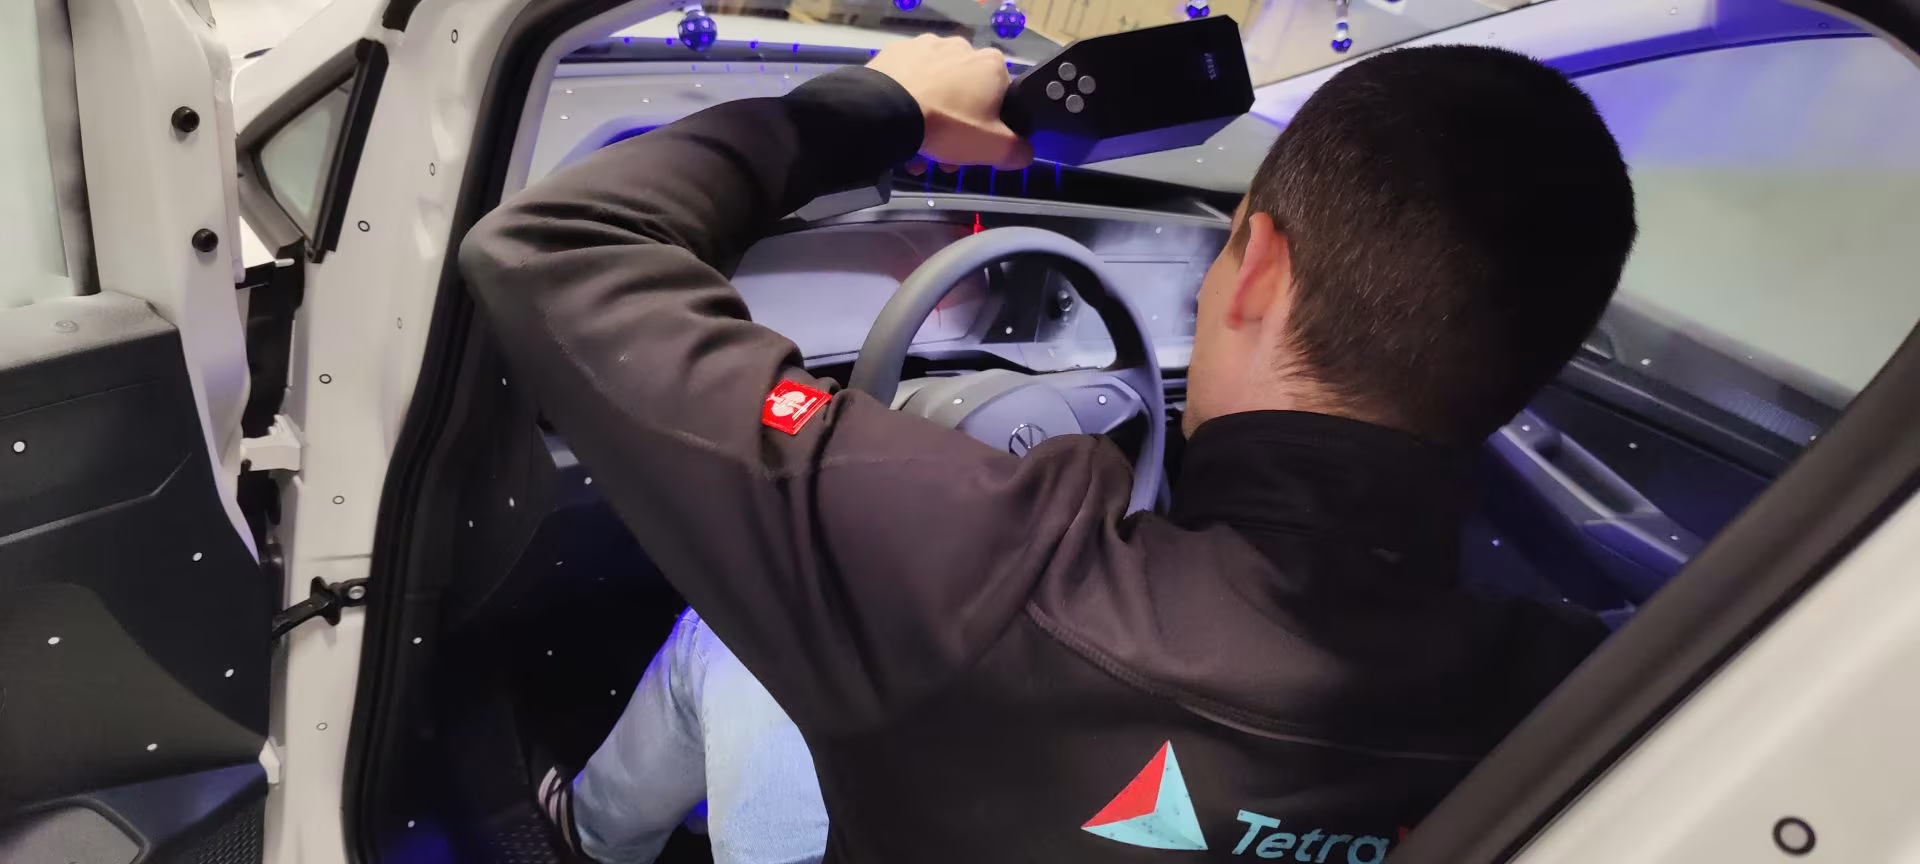
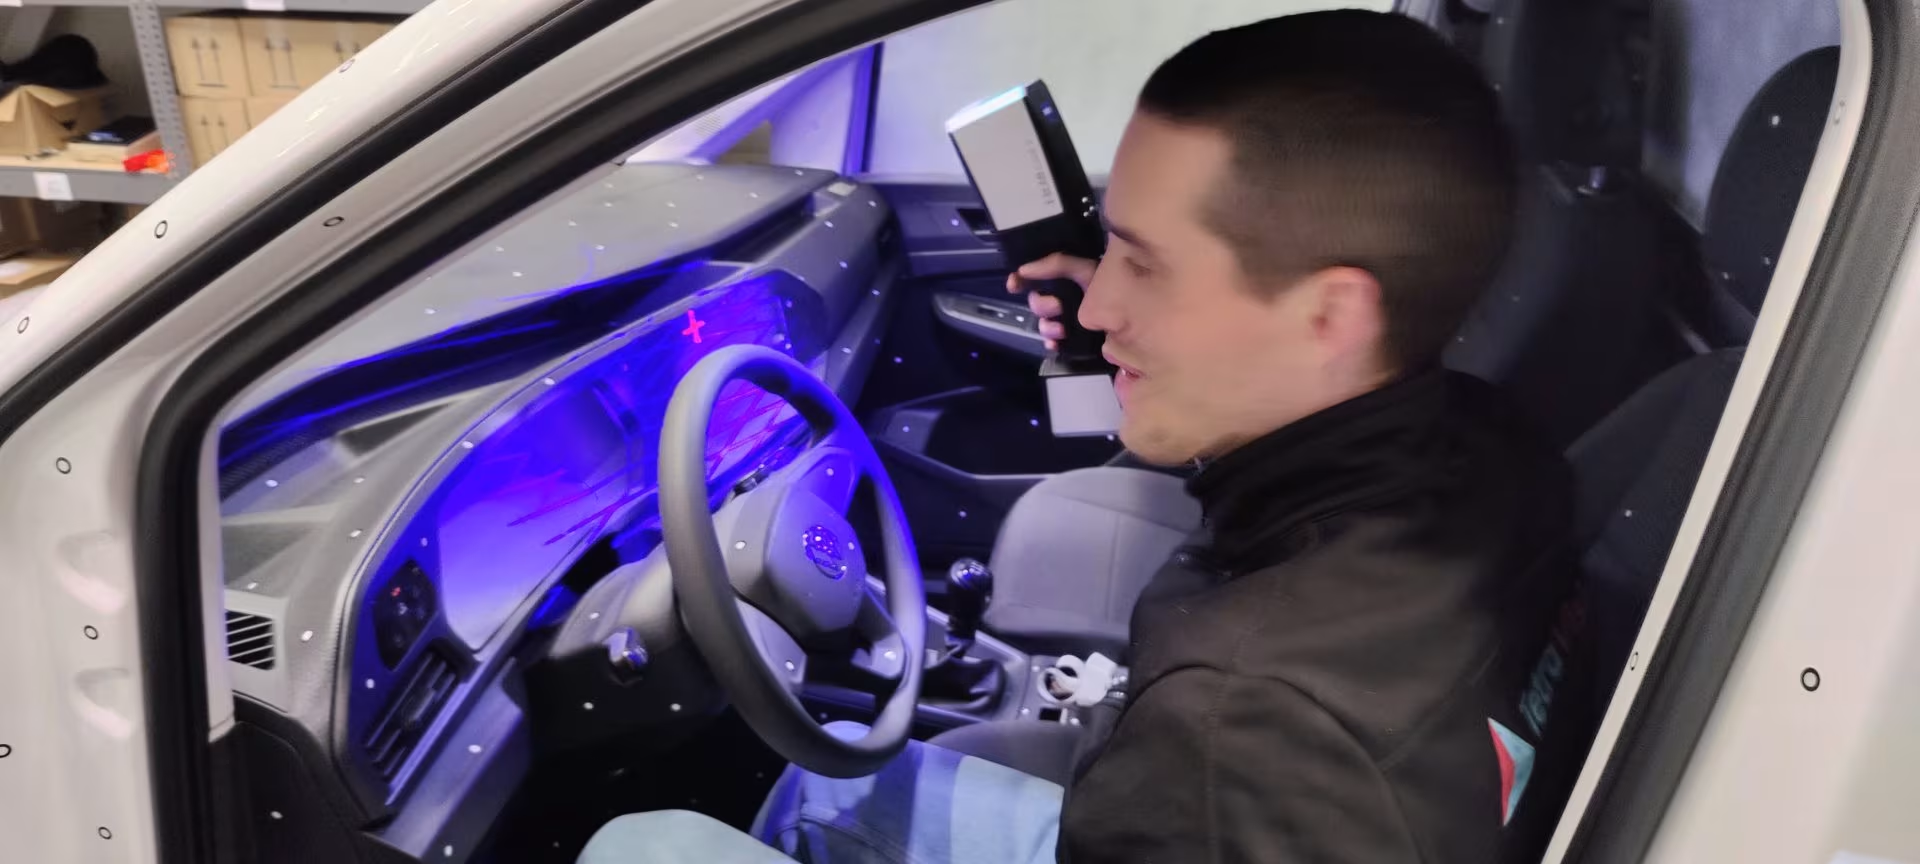
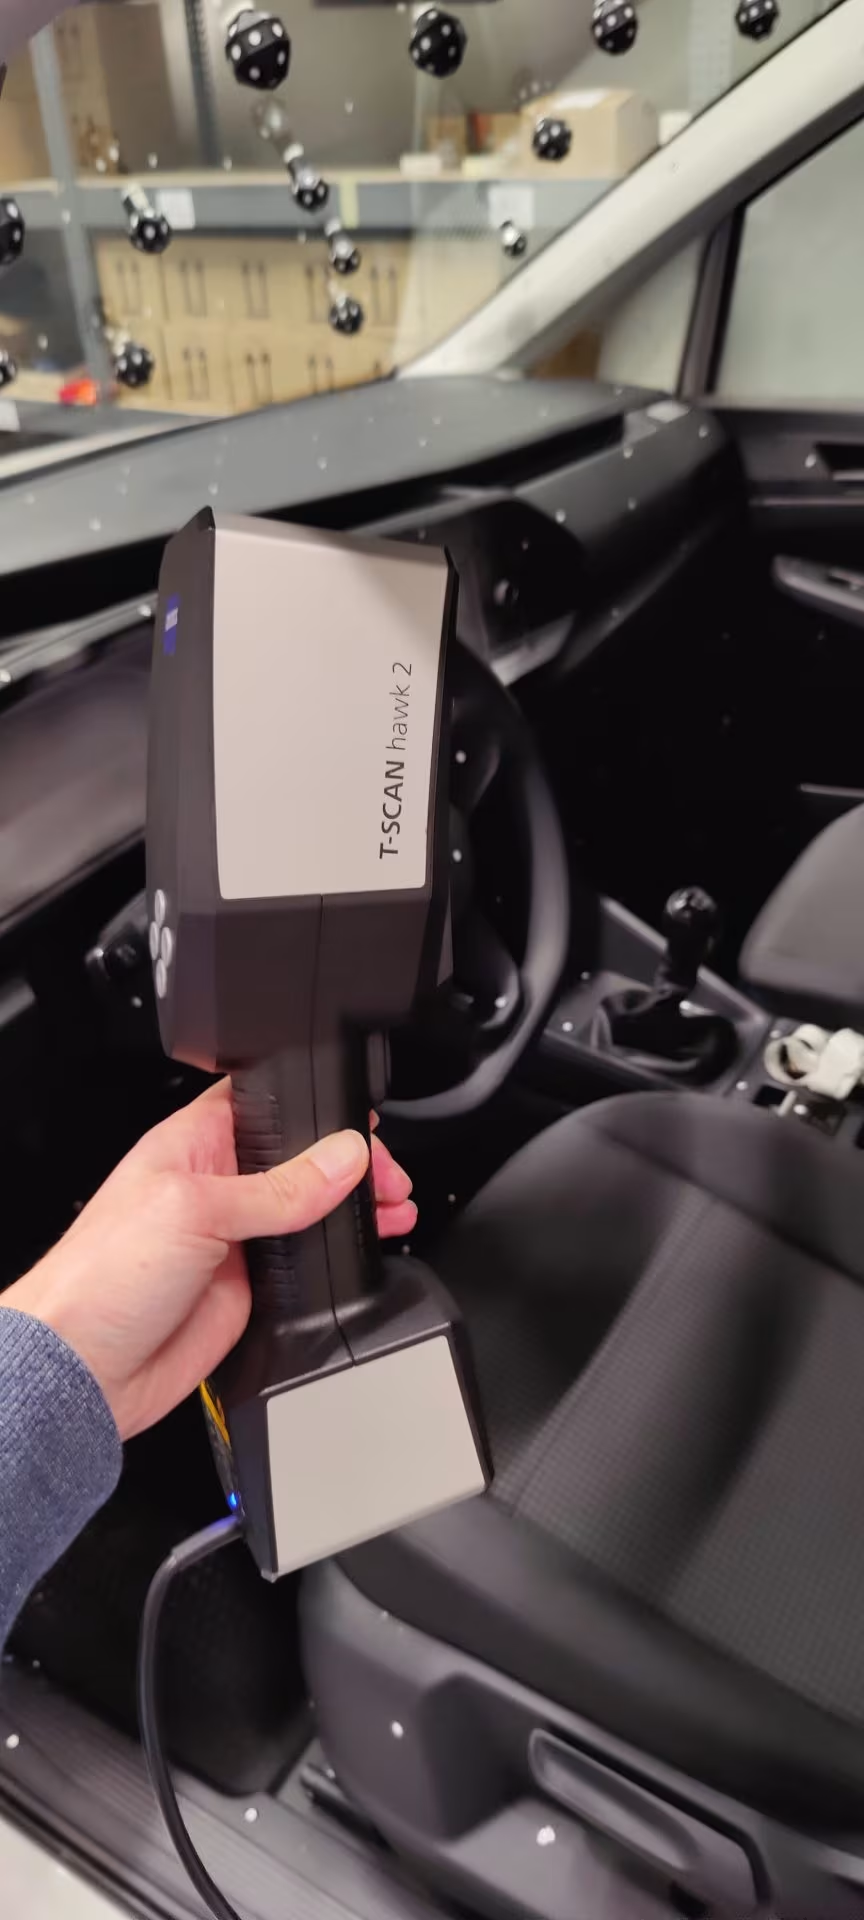
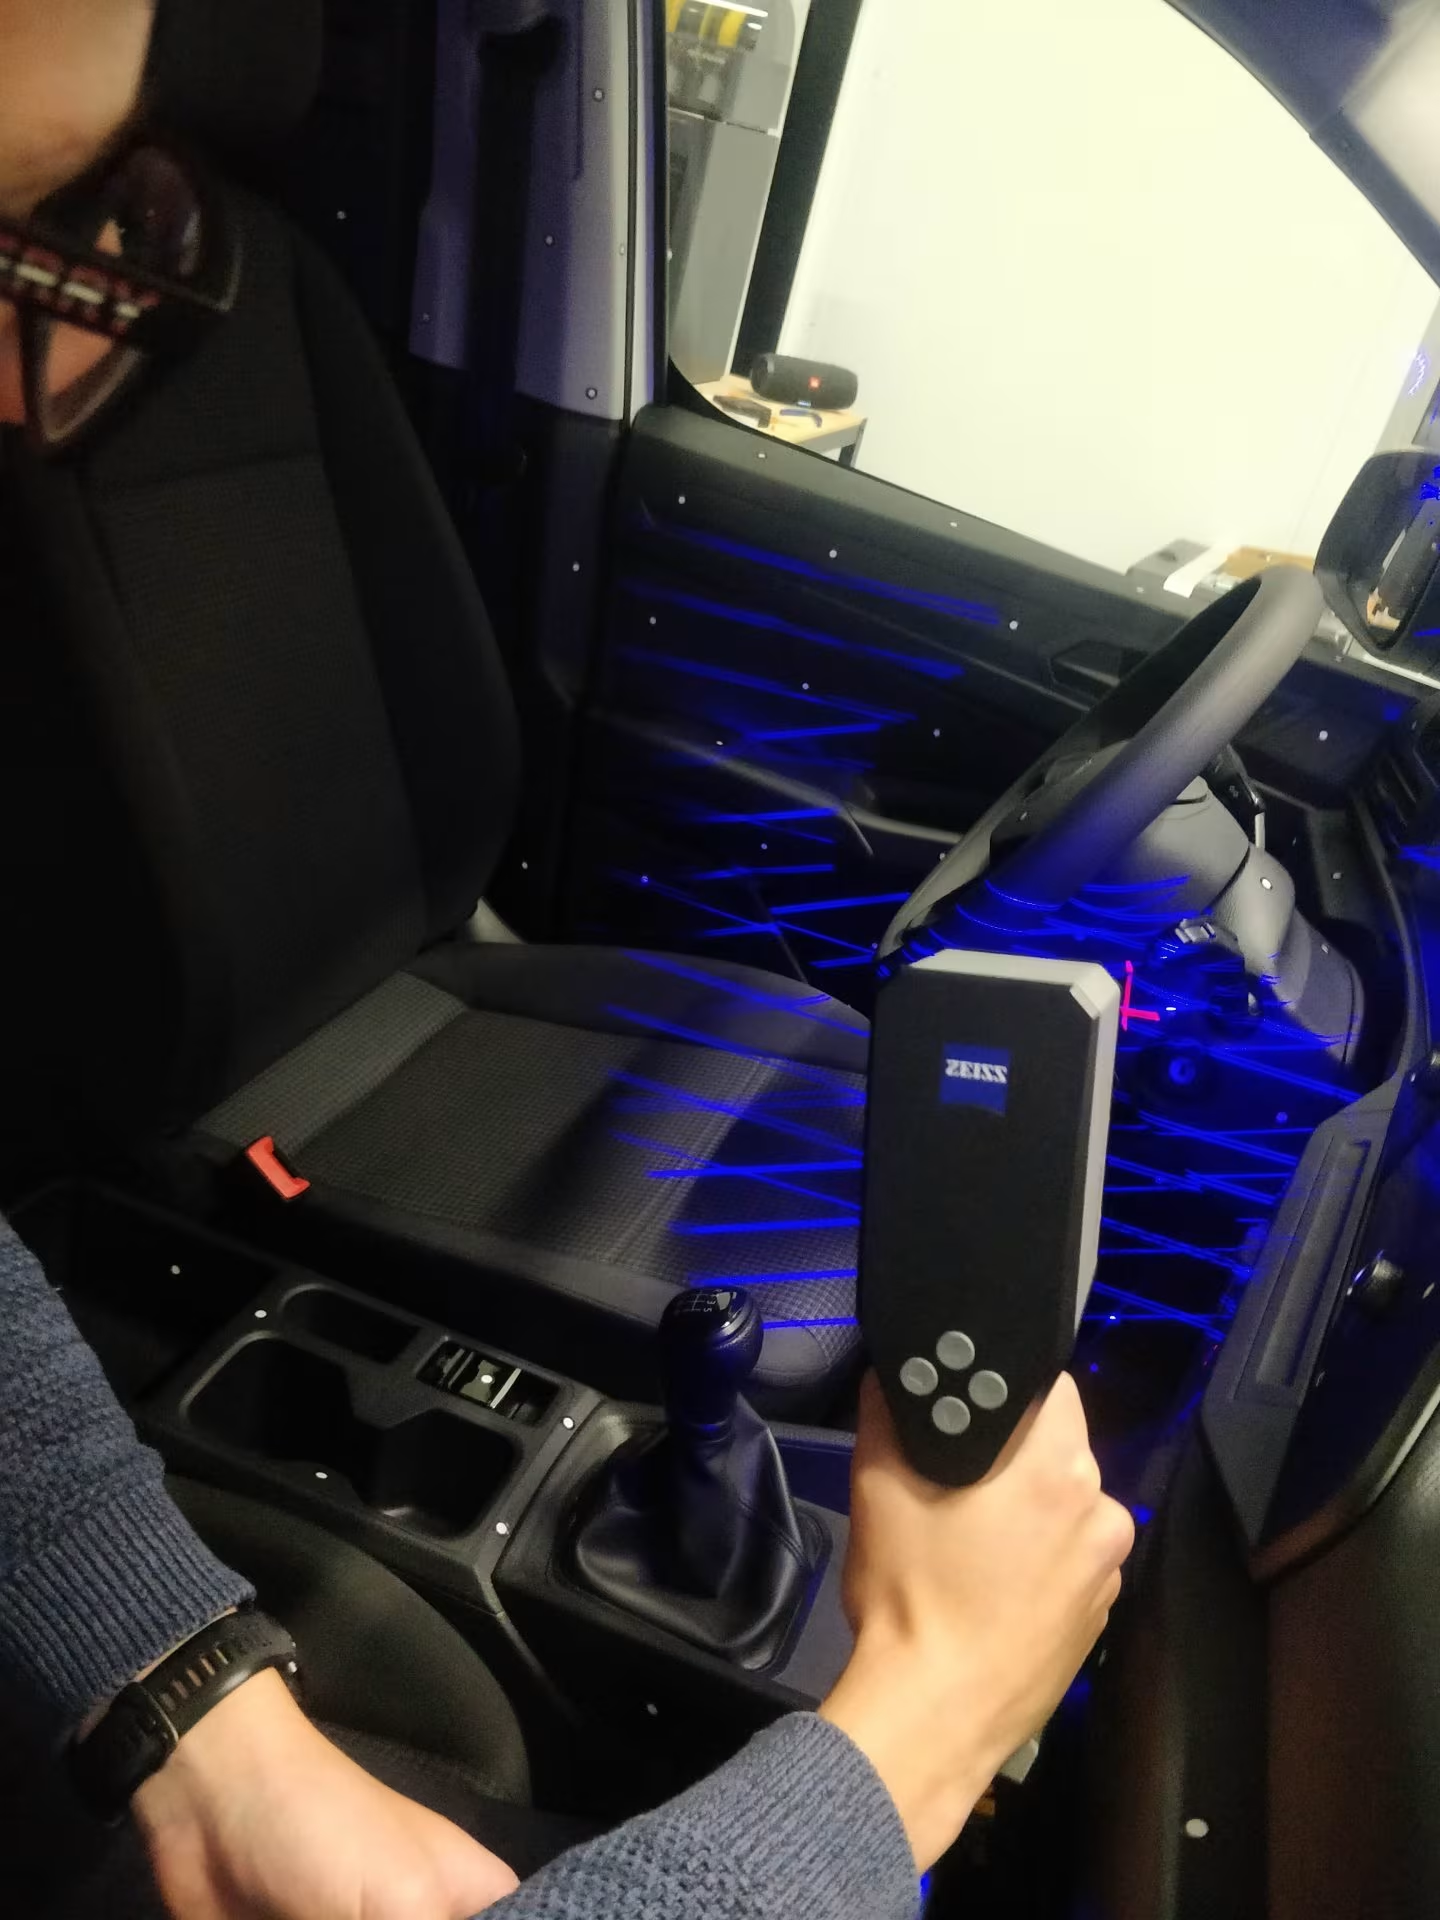
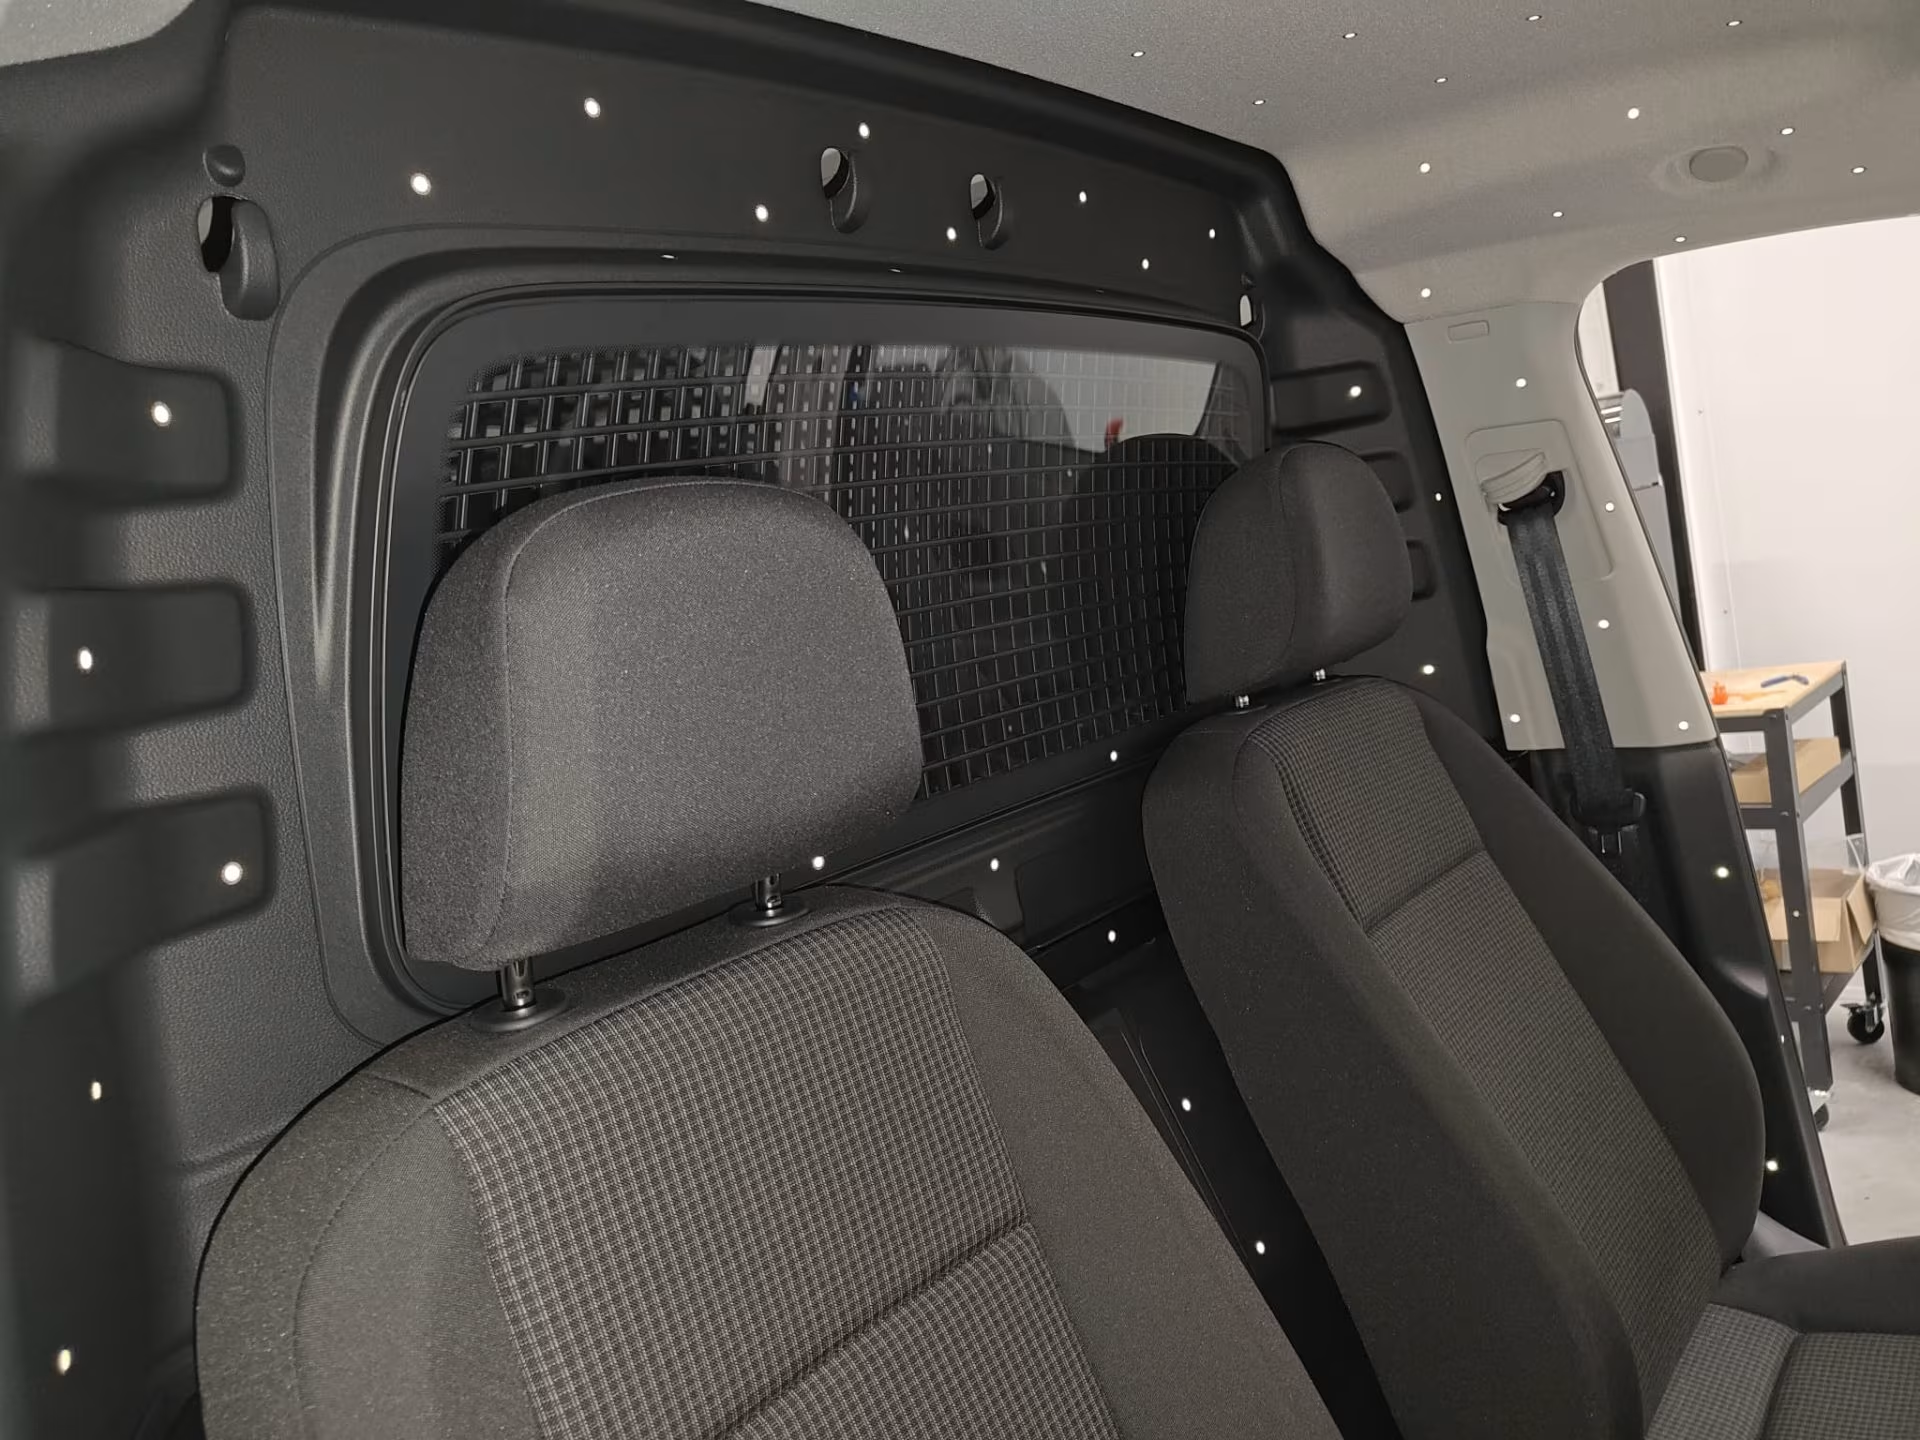
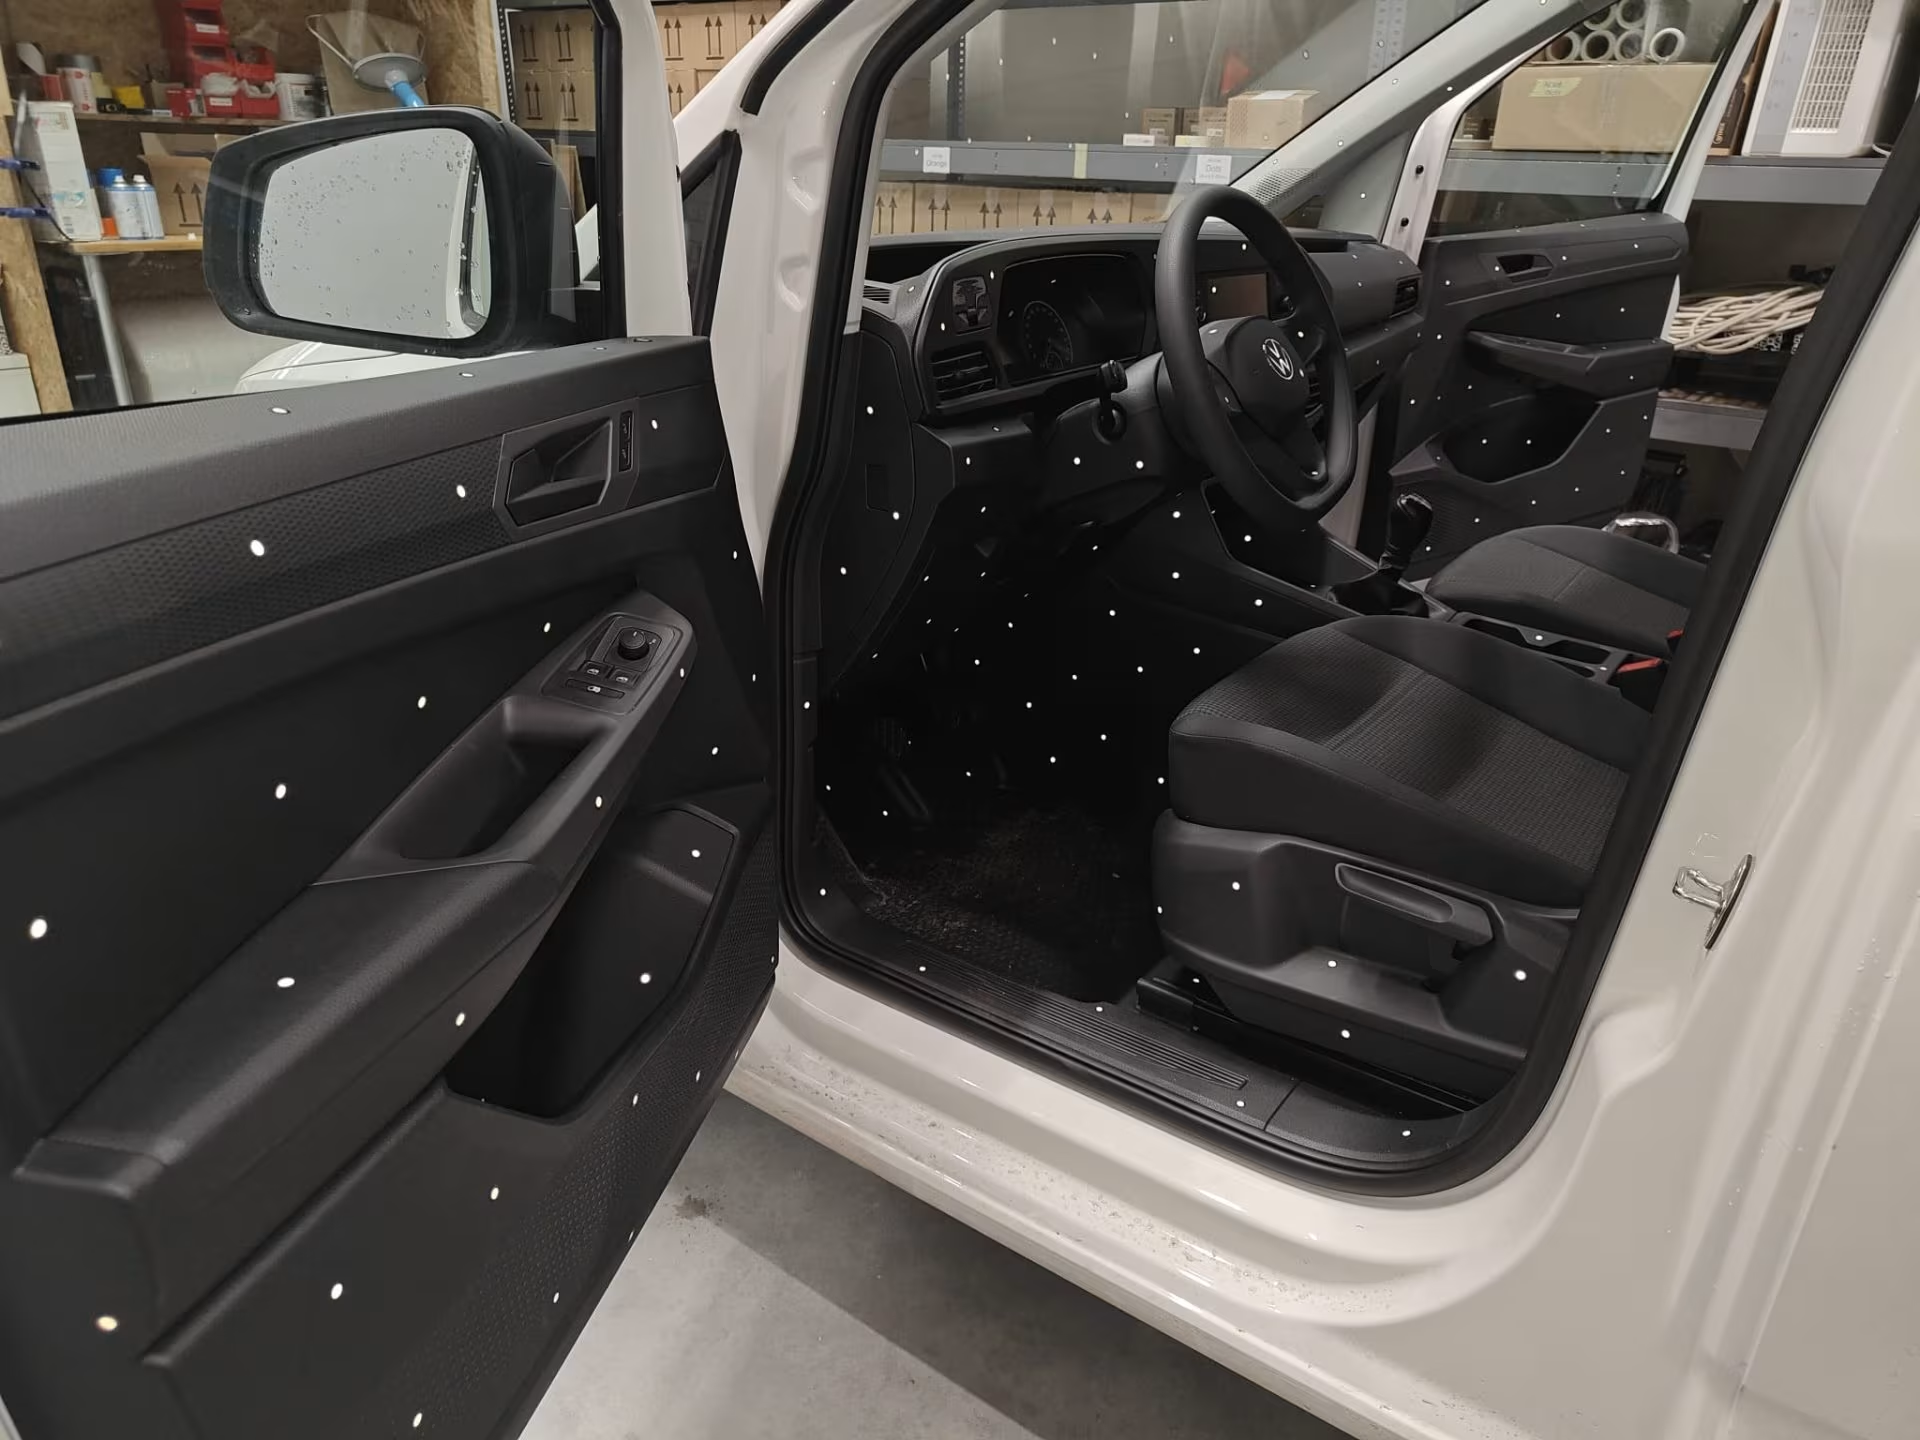
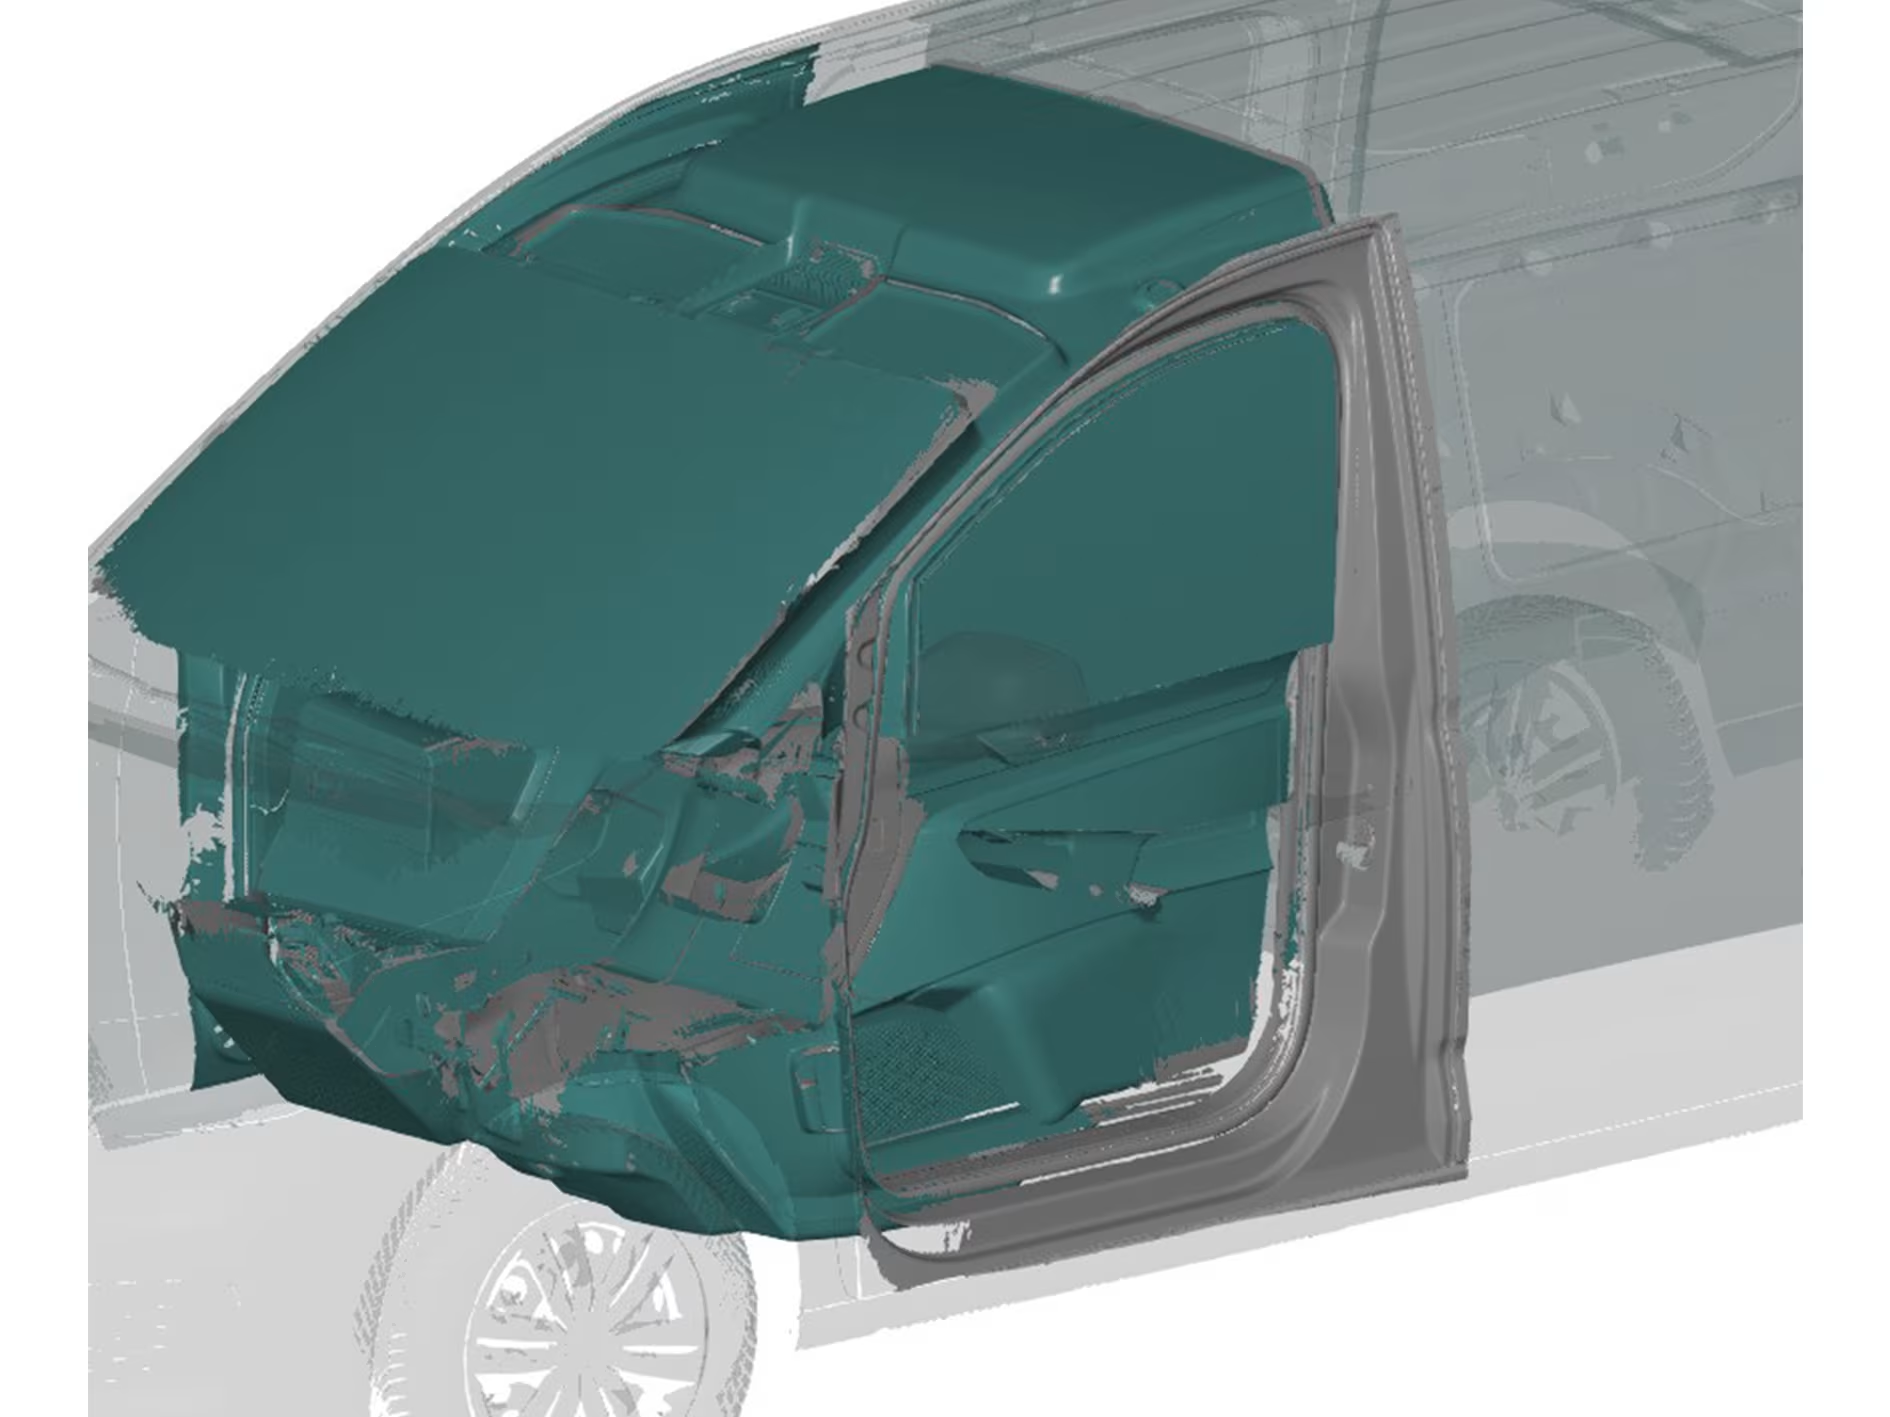
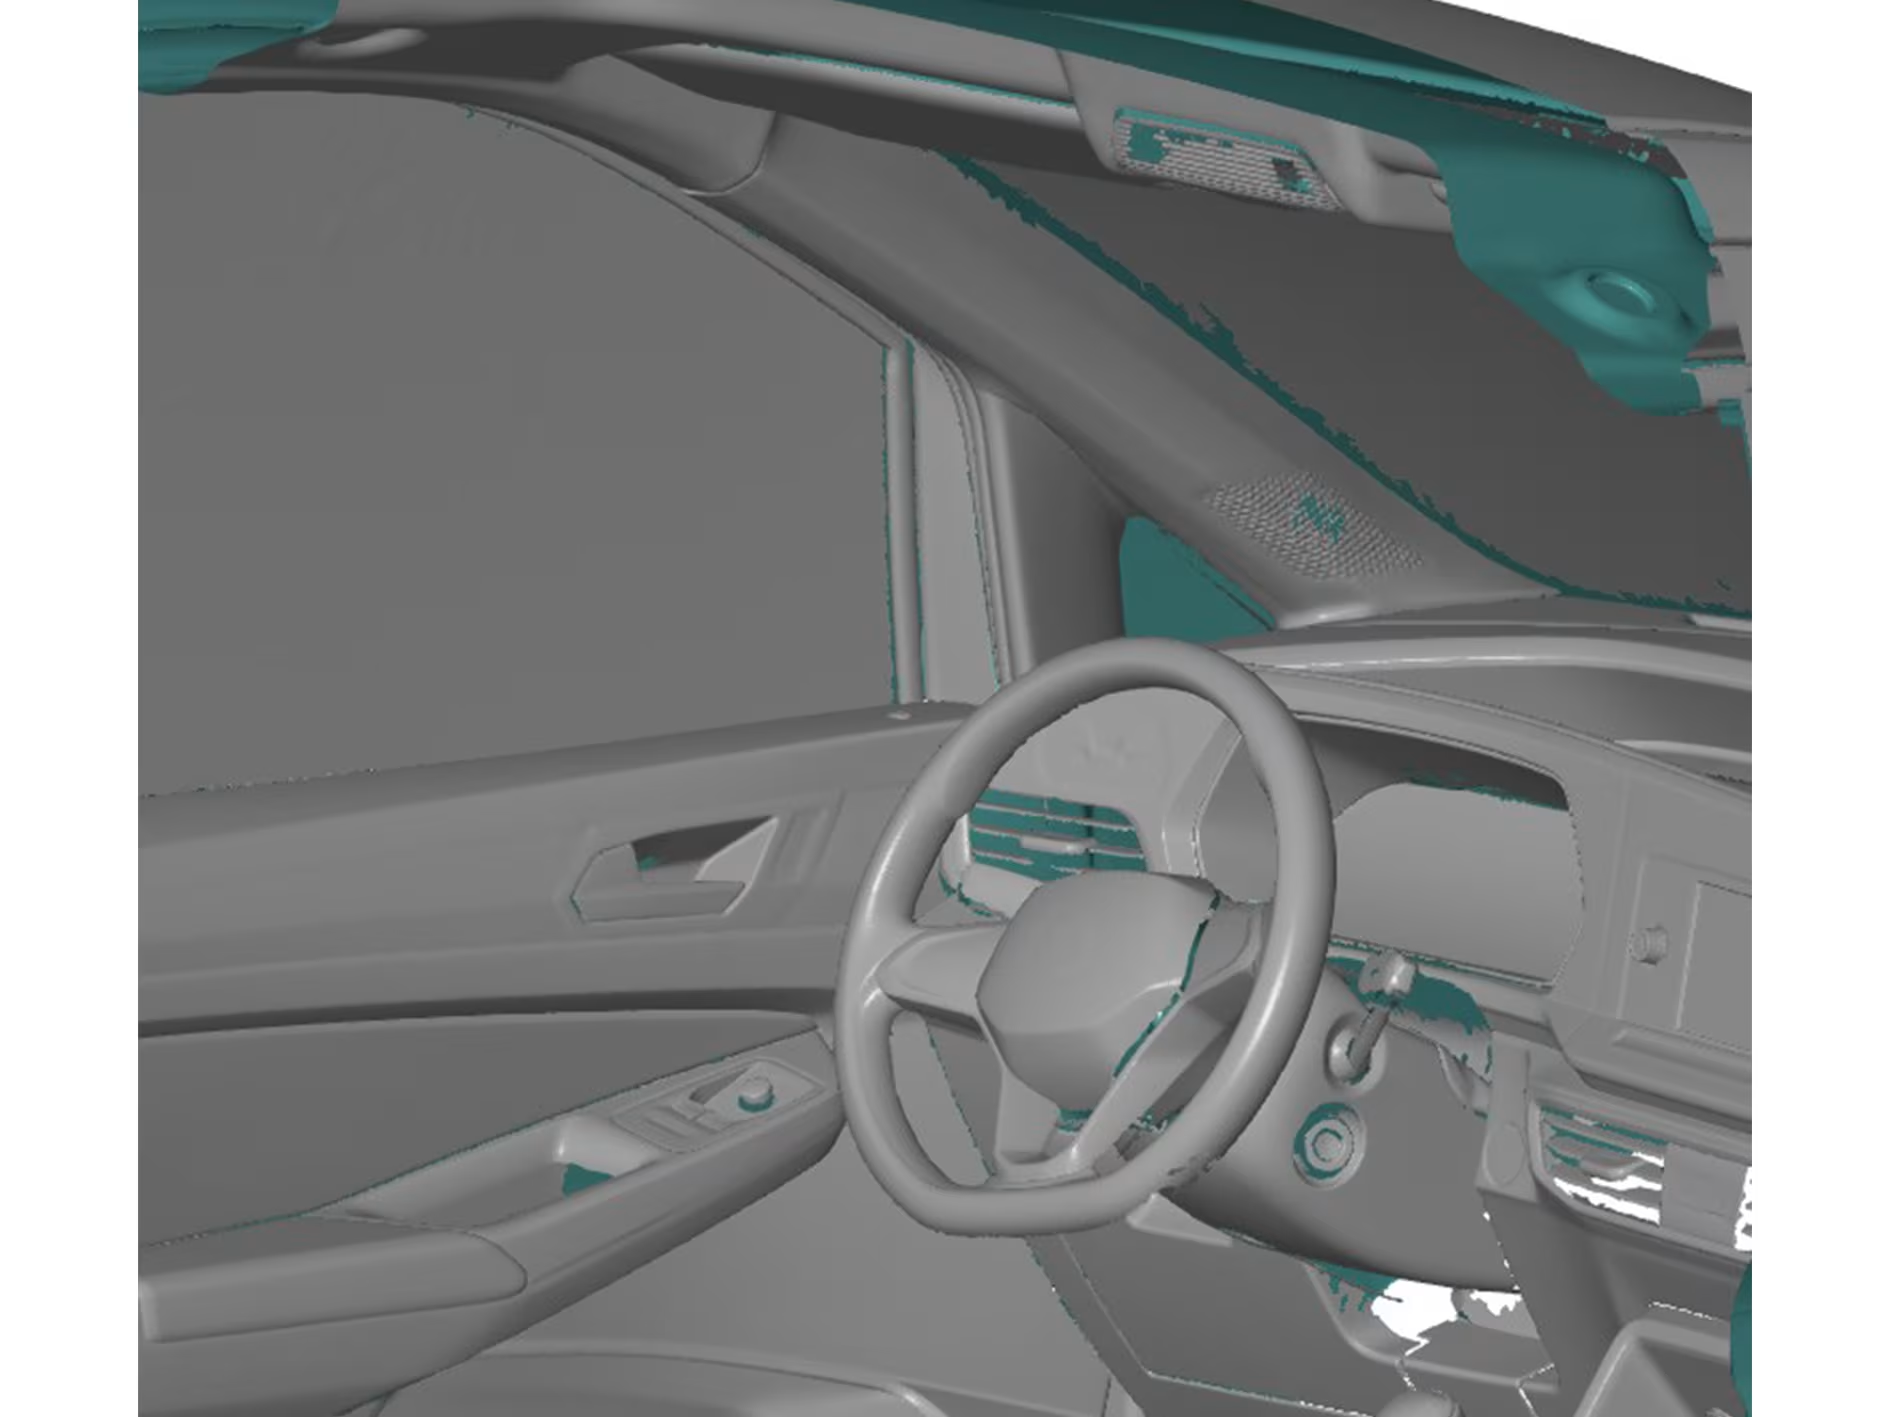
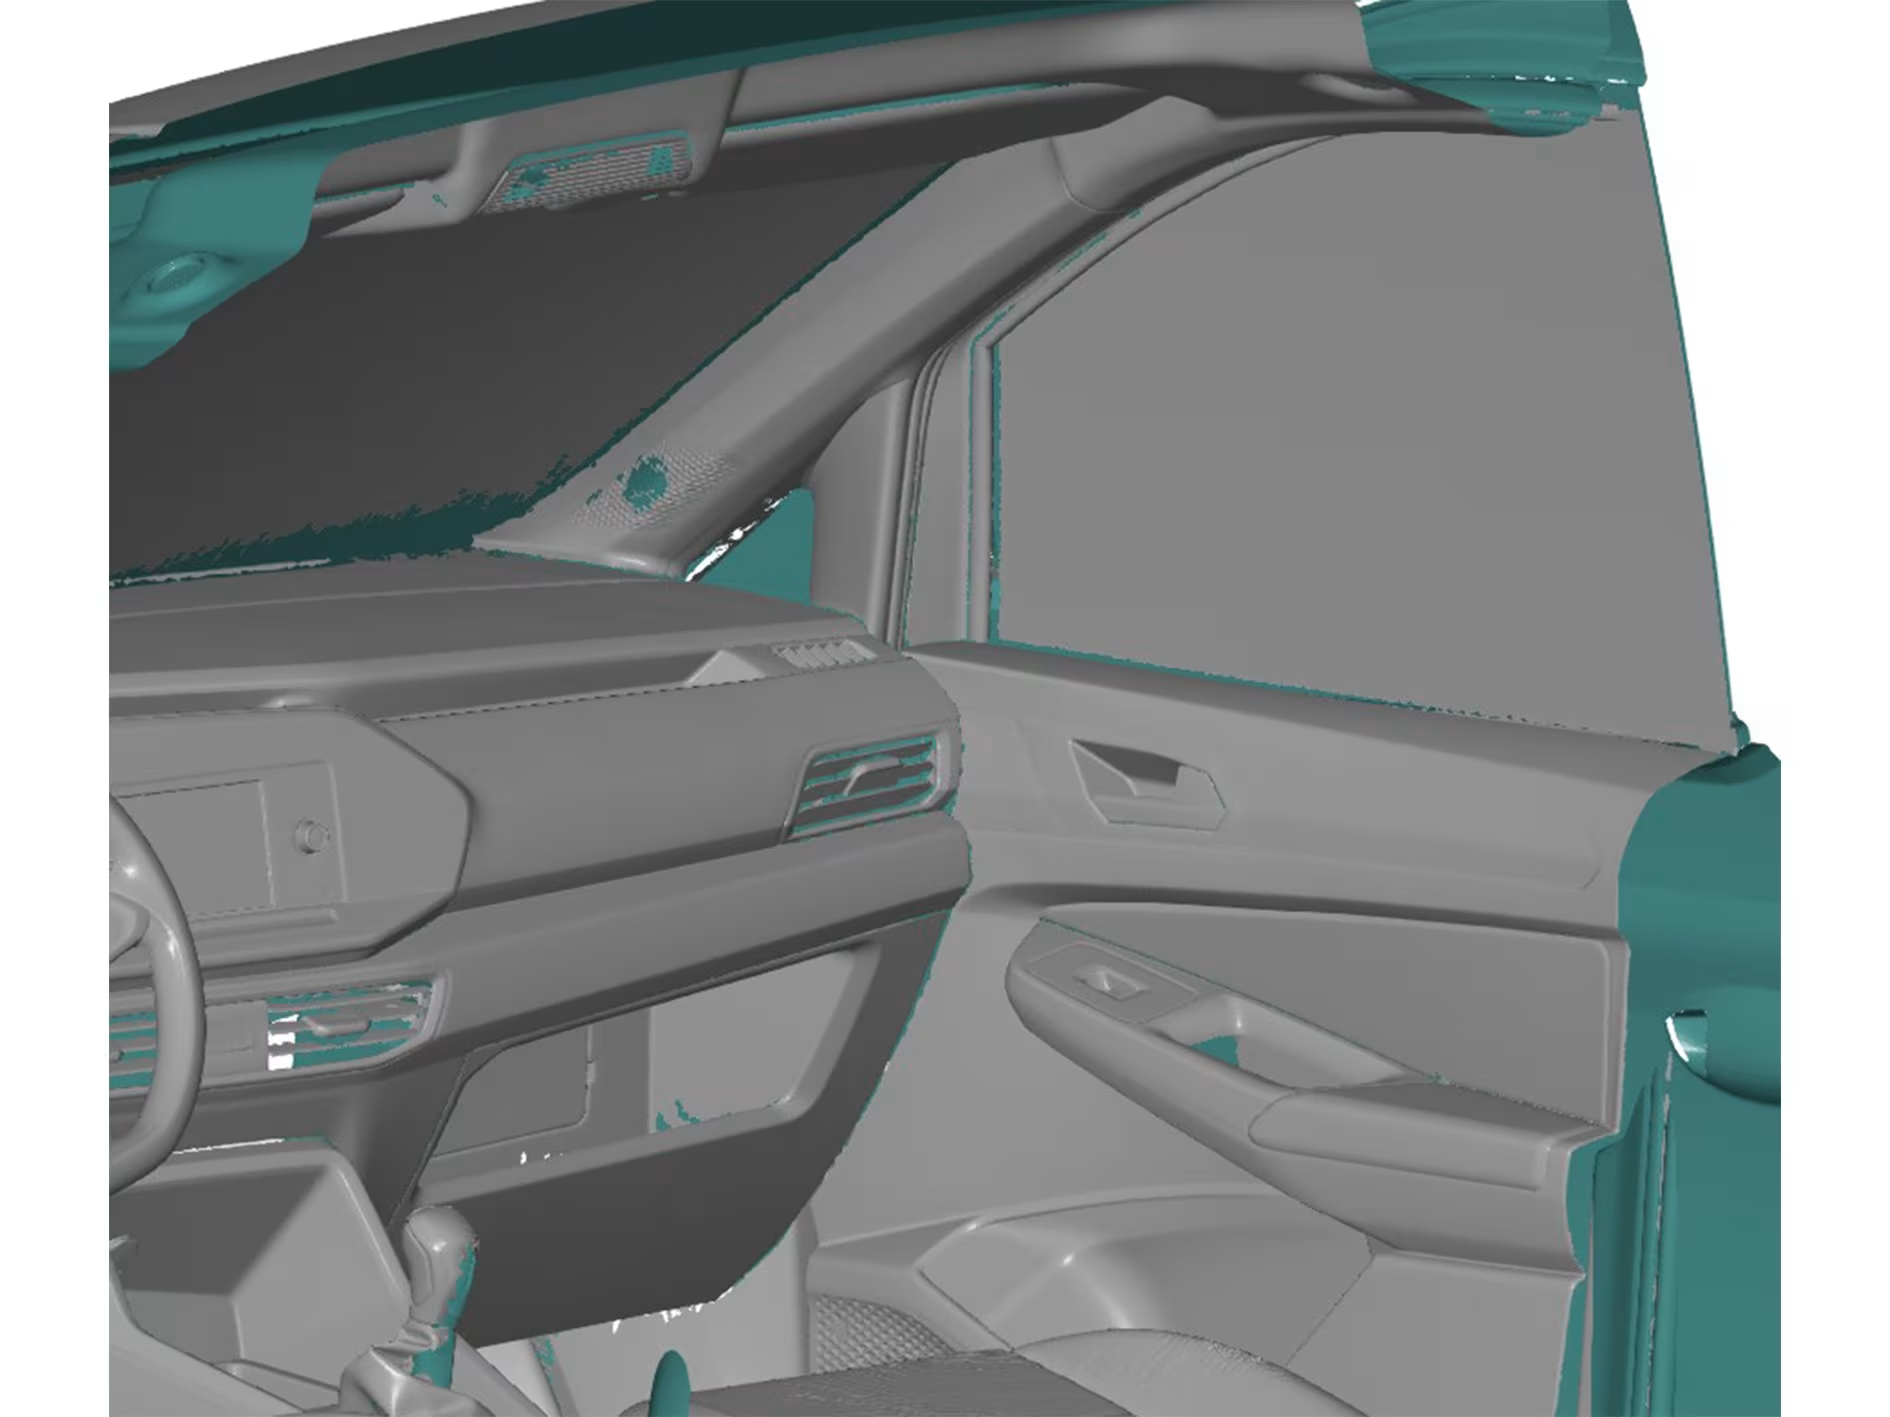
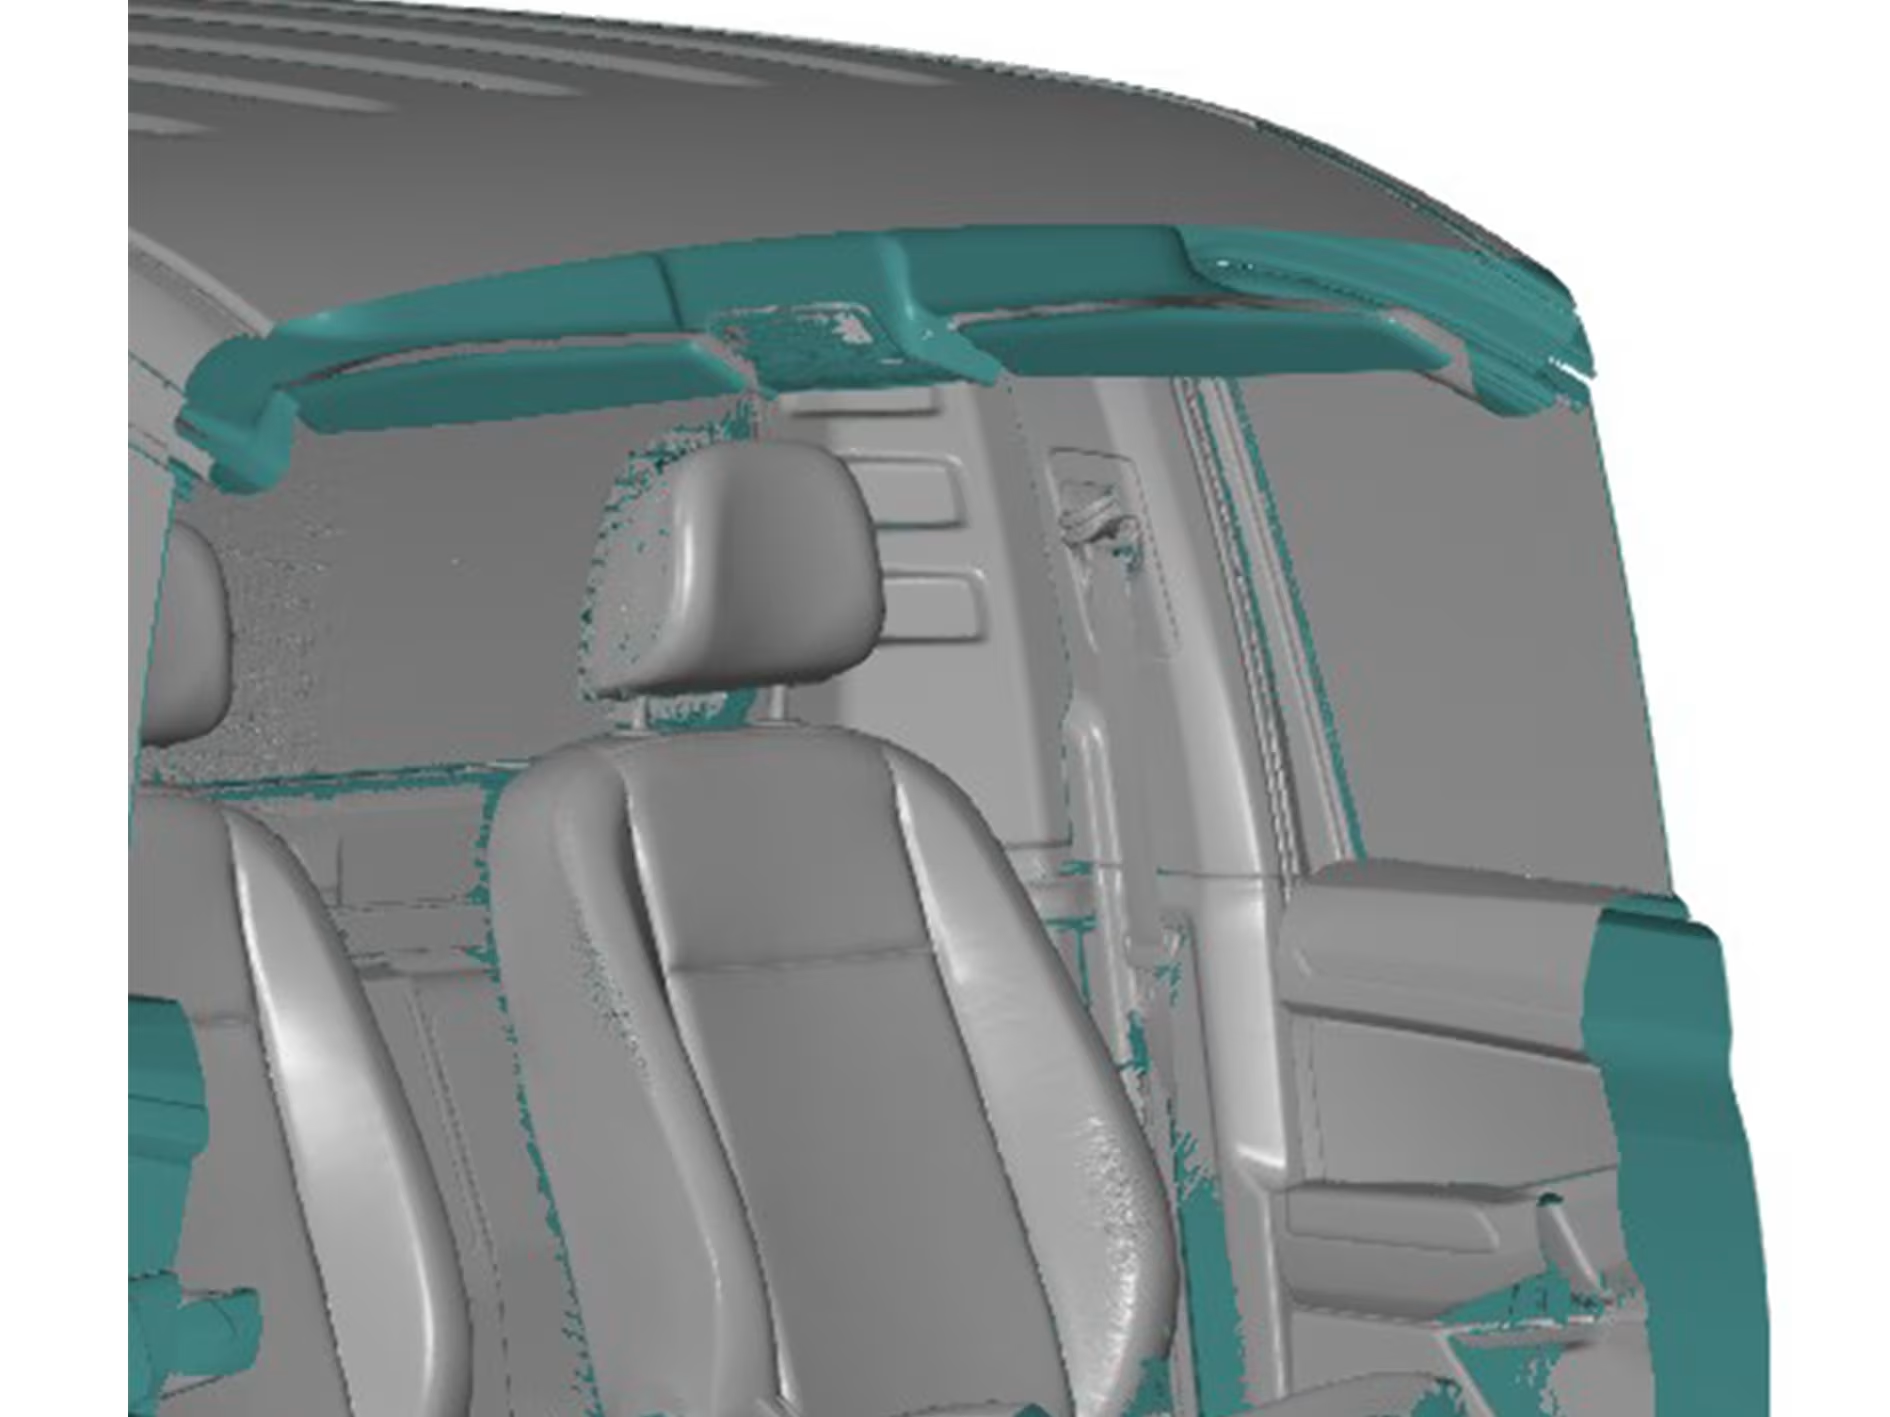
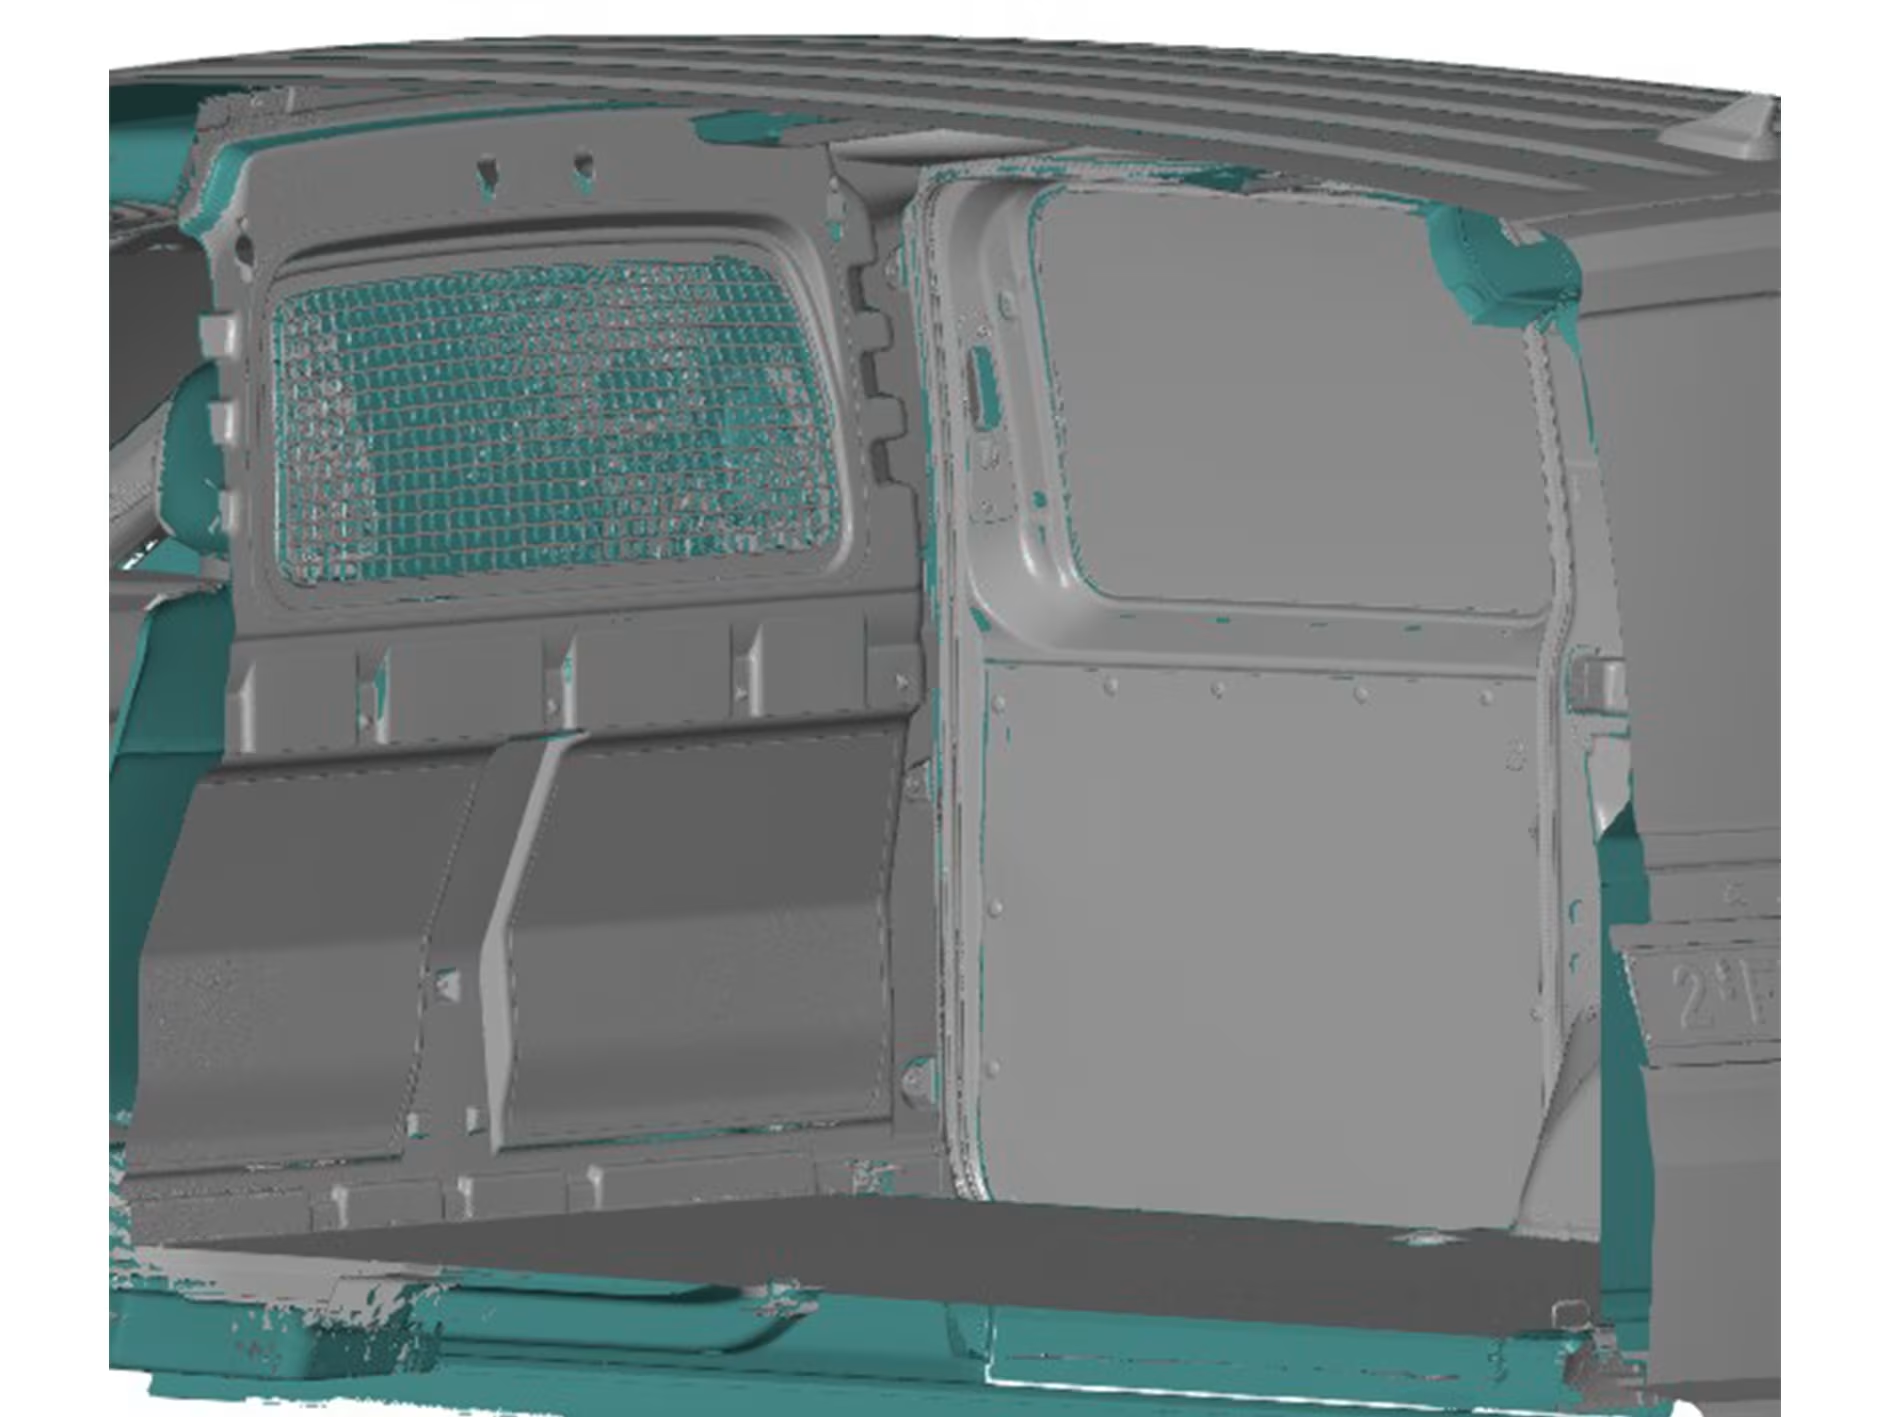
Scanning the cabin
We started by scanning the cabin, since there is not exactly a lot of space here, we chose to do this with the T-Scan Hawk 2. This scanner is very easy to use in smaller, hard-to-reach spaces. Before we could start scanning, we applied retro reflective reference points to the cabin. These are small stickers, which reflect the light emitted by the Hawk 2 back to the source. Importantly, we also already applied some reference points along the outside of the vehicle. This allows us to link interior and exterior scans later in the software.

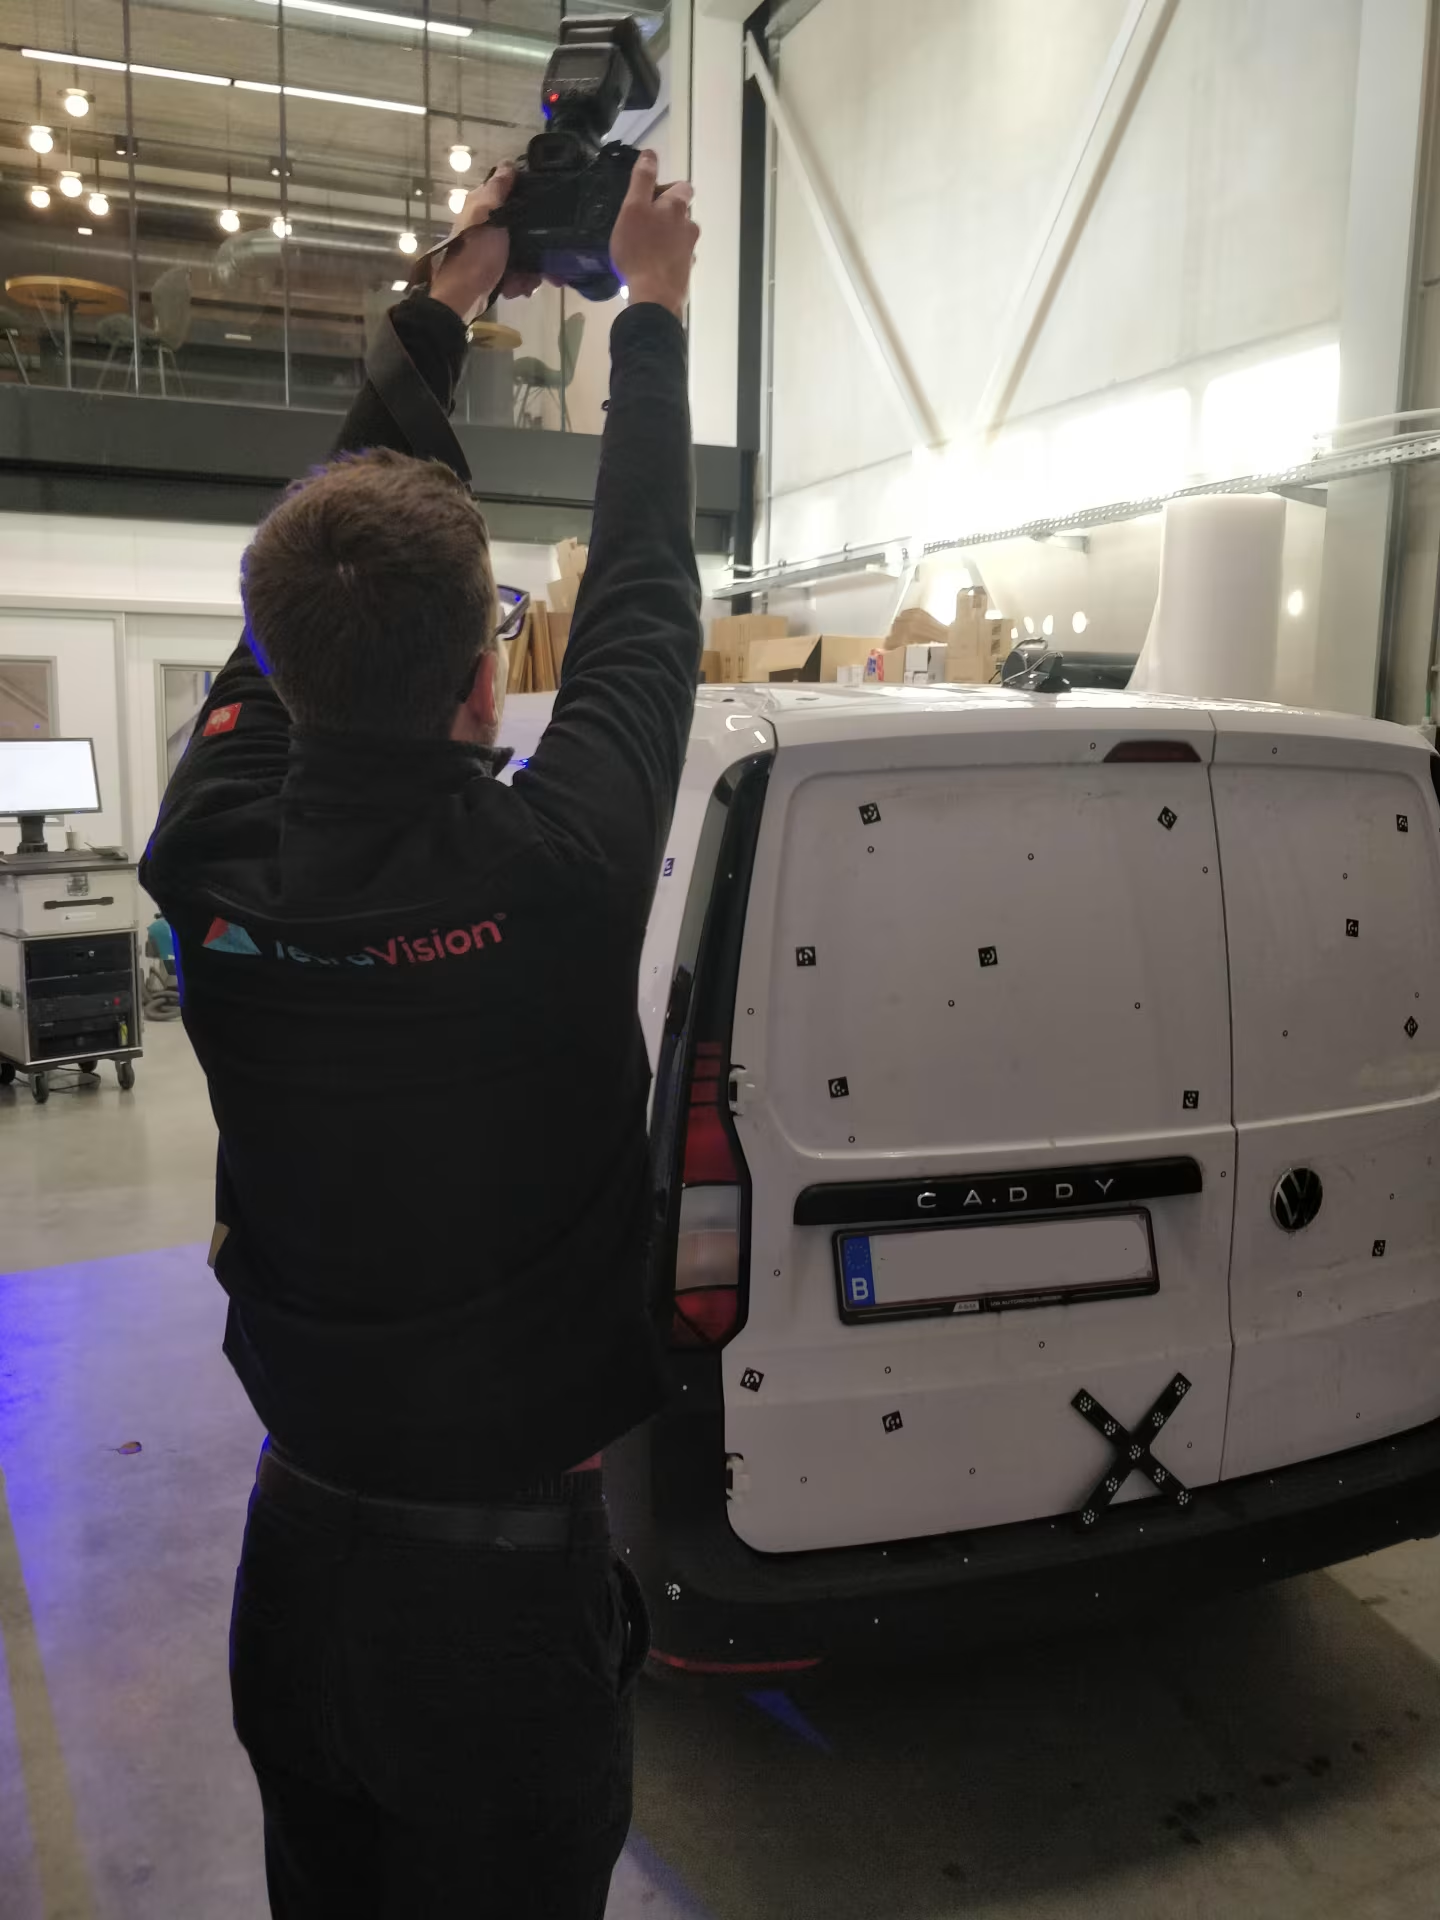
Tritop of the exterior
To scan the outside of the van, we had to apply the regular reference points. The ATOS III Triple scan can use thes to fit the scanned data together.
Since we are dealing with a very large object here, we first take a Tritop of the van. With Tritop, we take pictures around the object, in order to register the reference points in advance. We then use these registered reference points to scan the object with the ATOS III triple Scan.
Making a Tritop also requires us to apply another kind of marker. Fortunately, these markers are magnetic, which simplifies application and removal.
Scanning the exterior
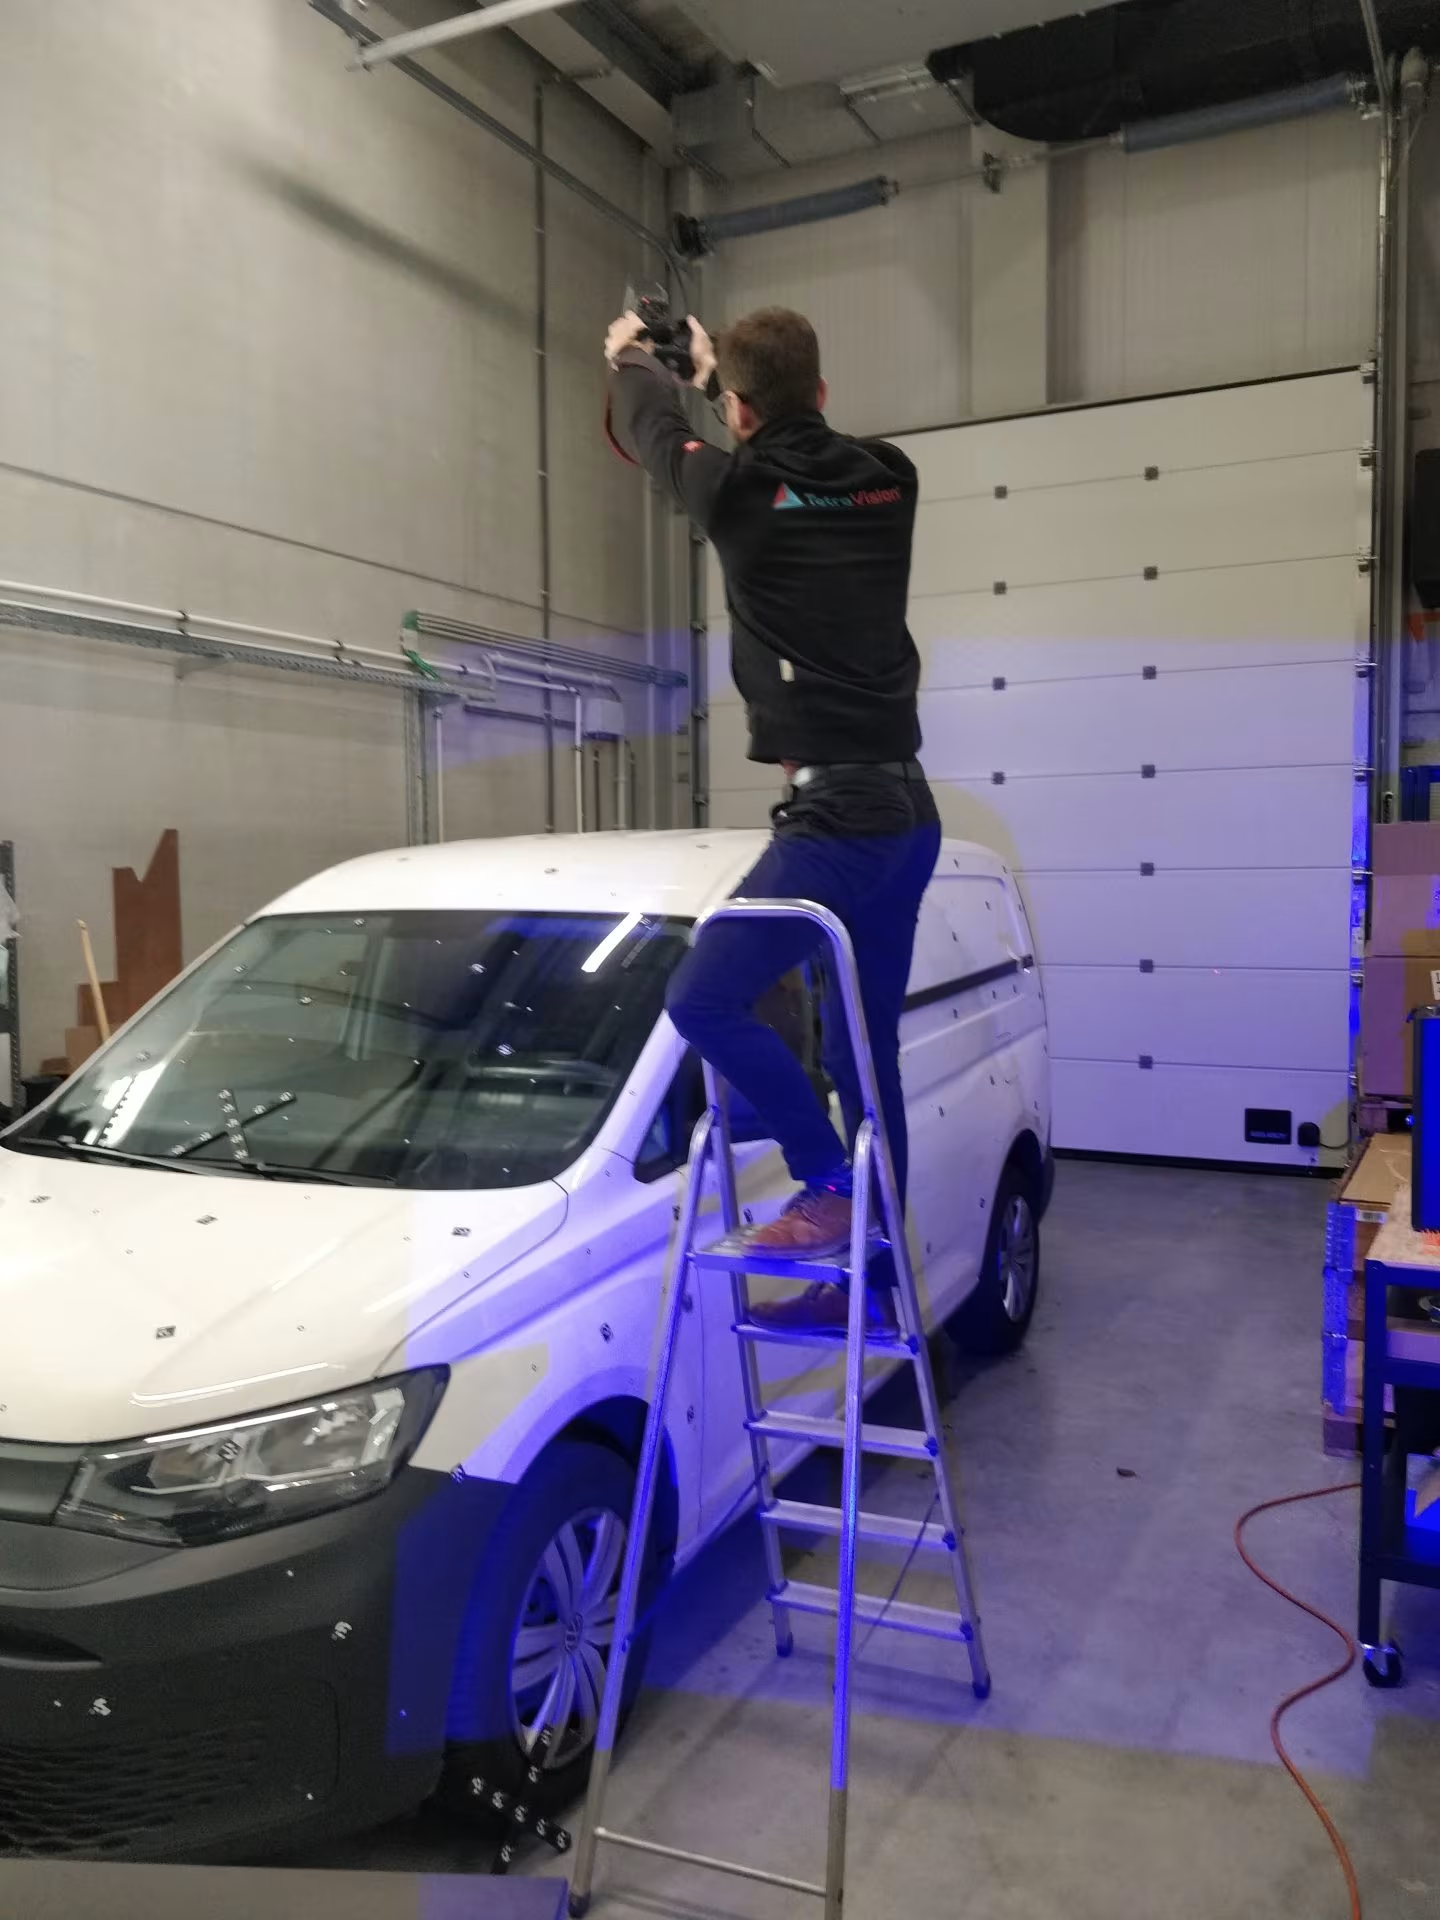
After capturing all the pasted reference points, scanning the outside is pretty straightforward with the ATOS III Triple Scan! There are no difficult features that take extra effort.
Only for scanning the top we had to extend our tripod a bit. For scanning the transparent, reflective and black surfaces we had to use Aesub Blue scanning spray.
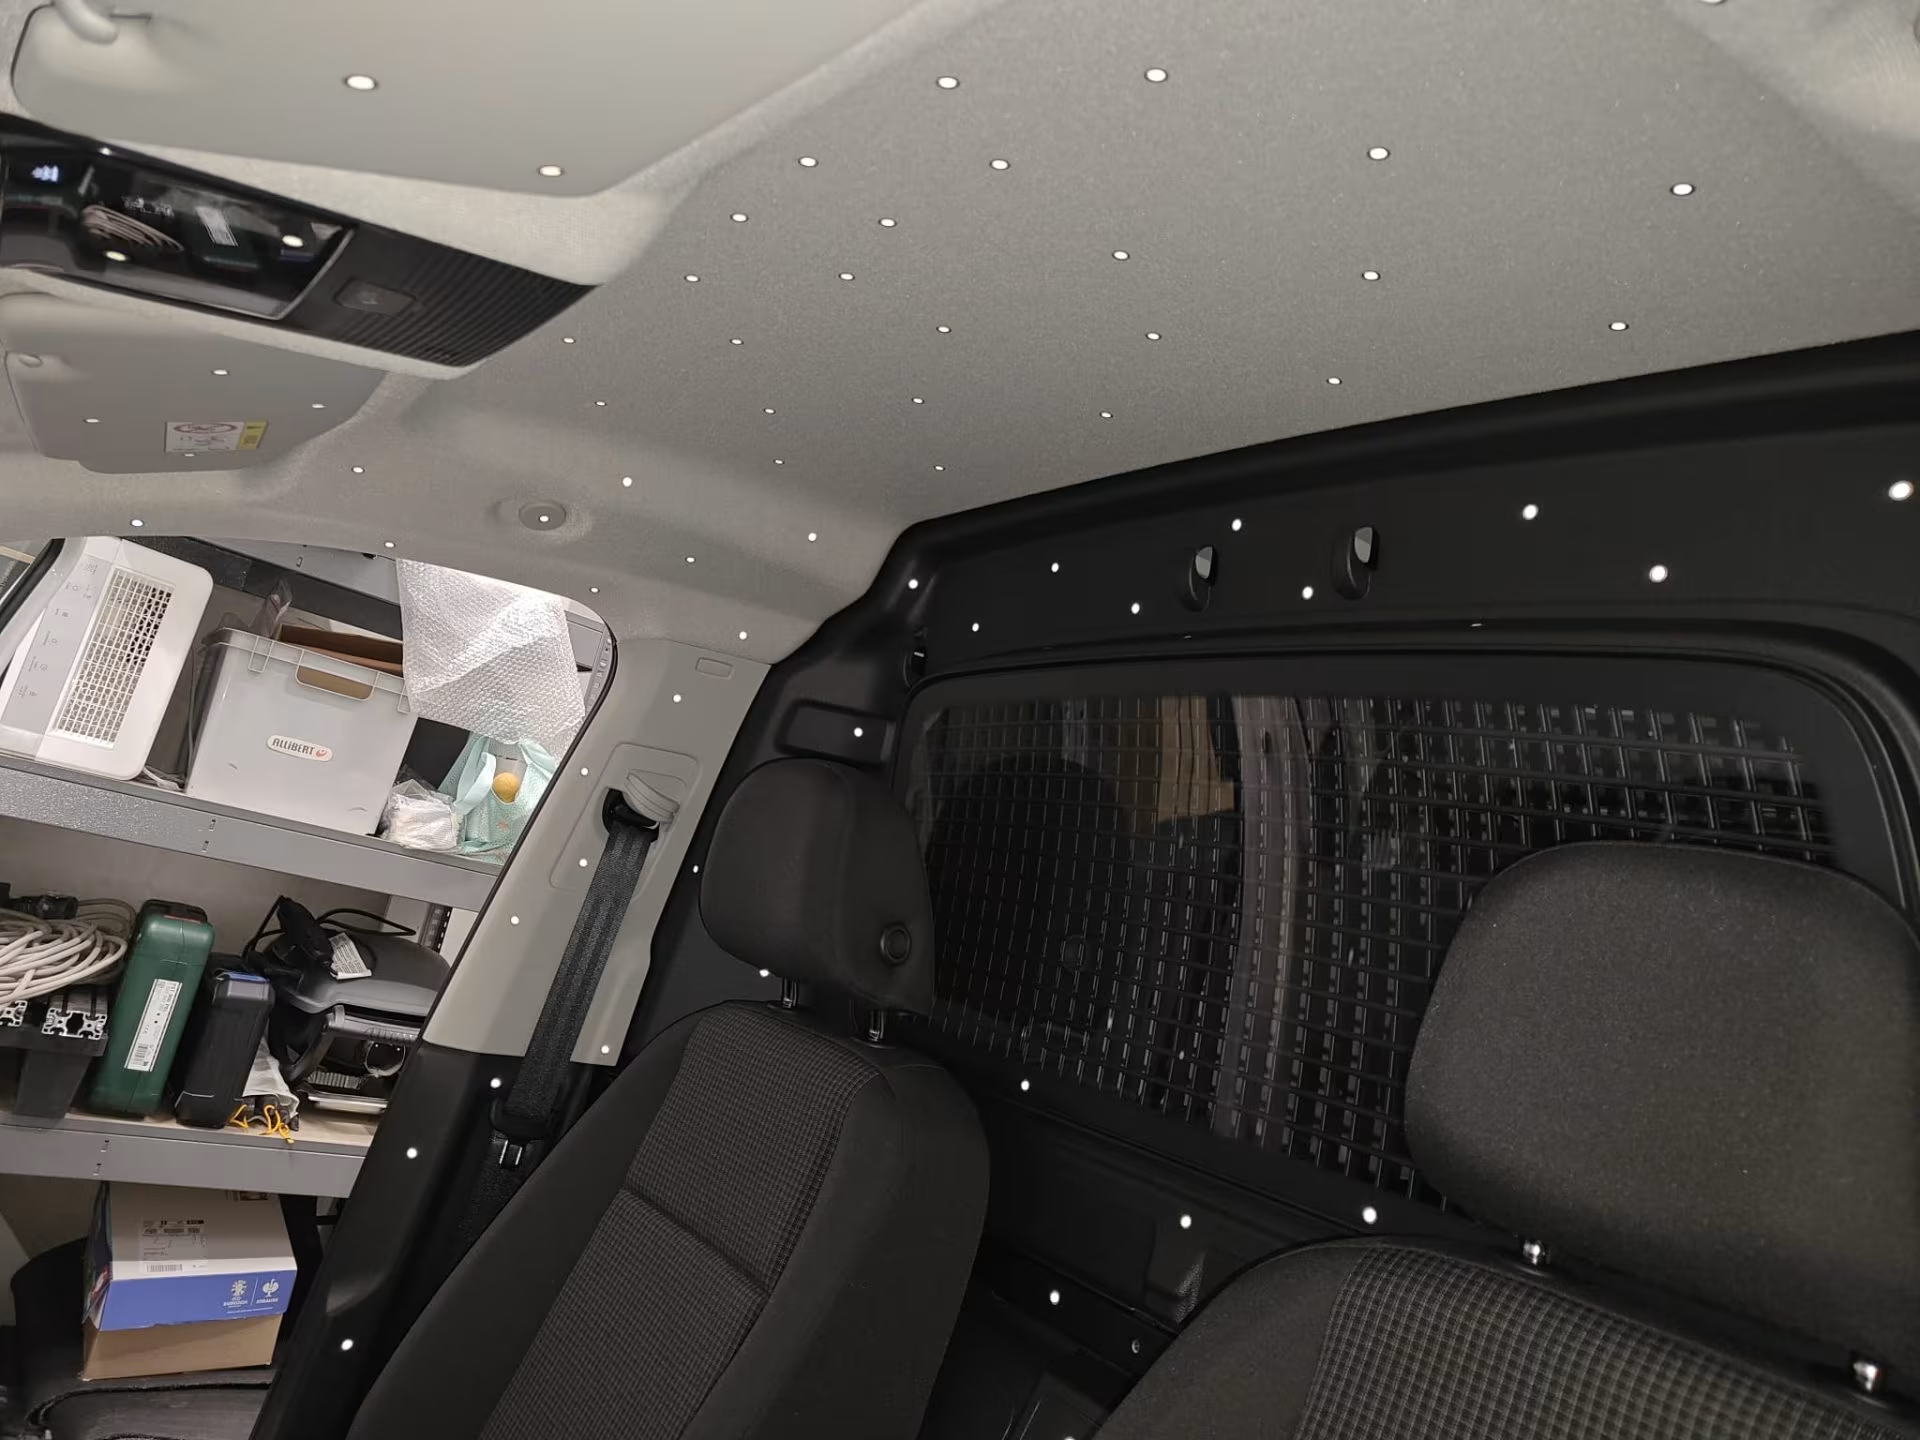
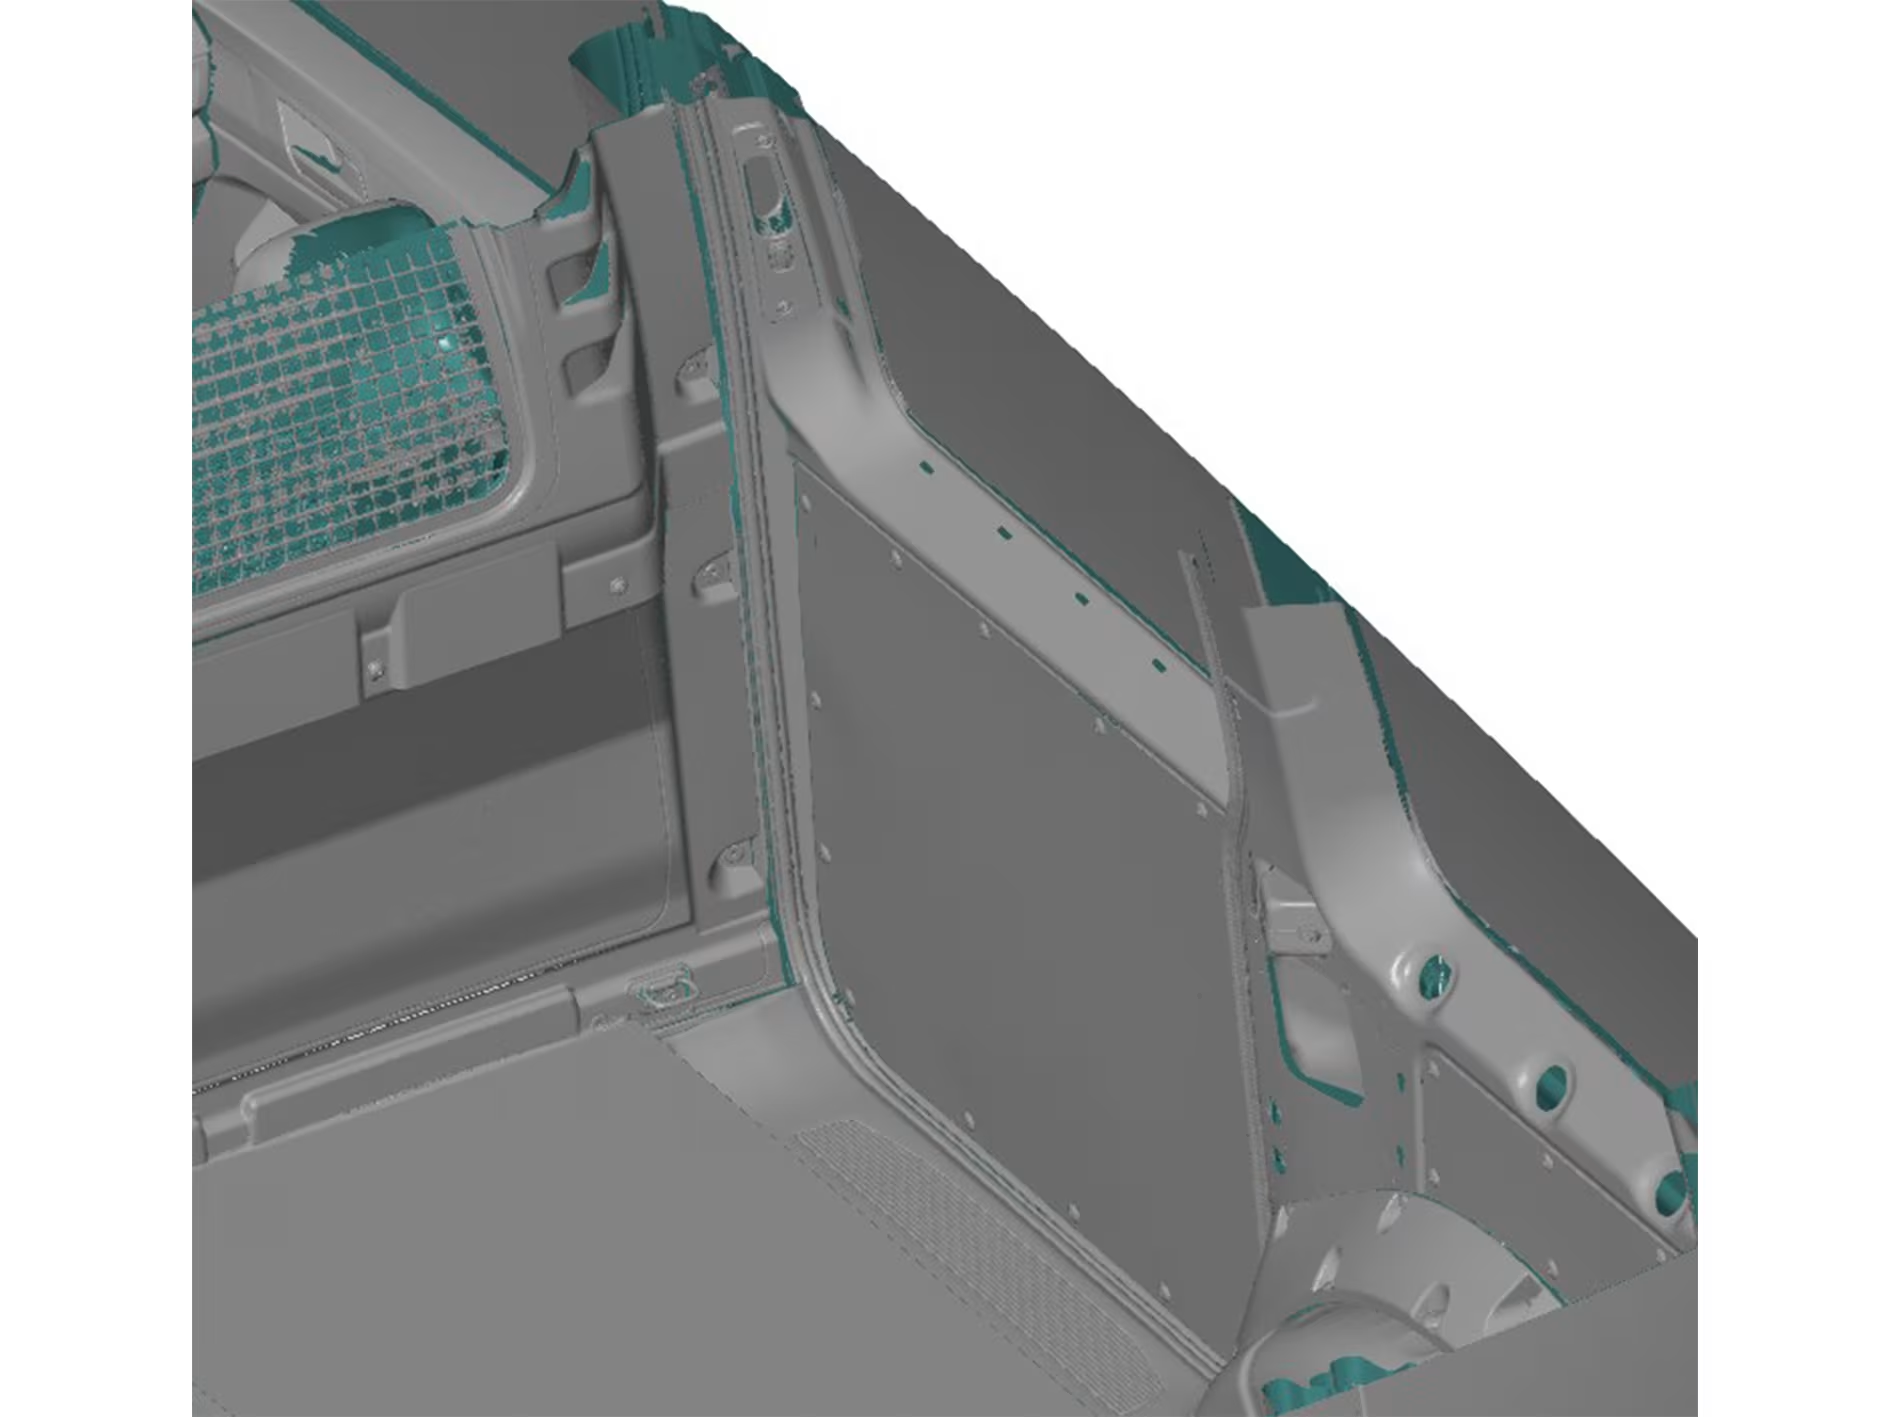
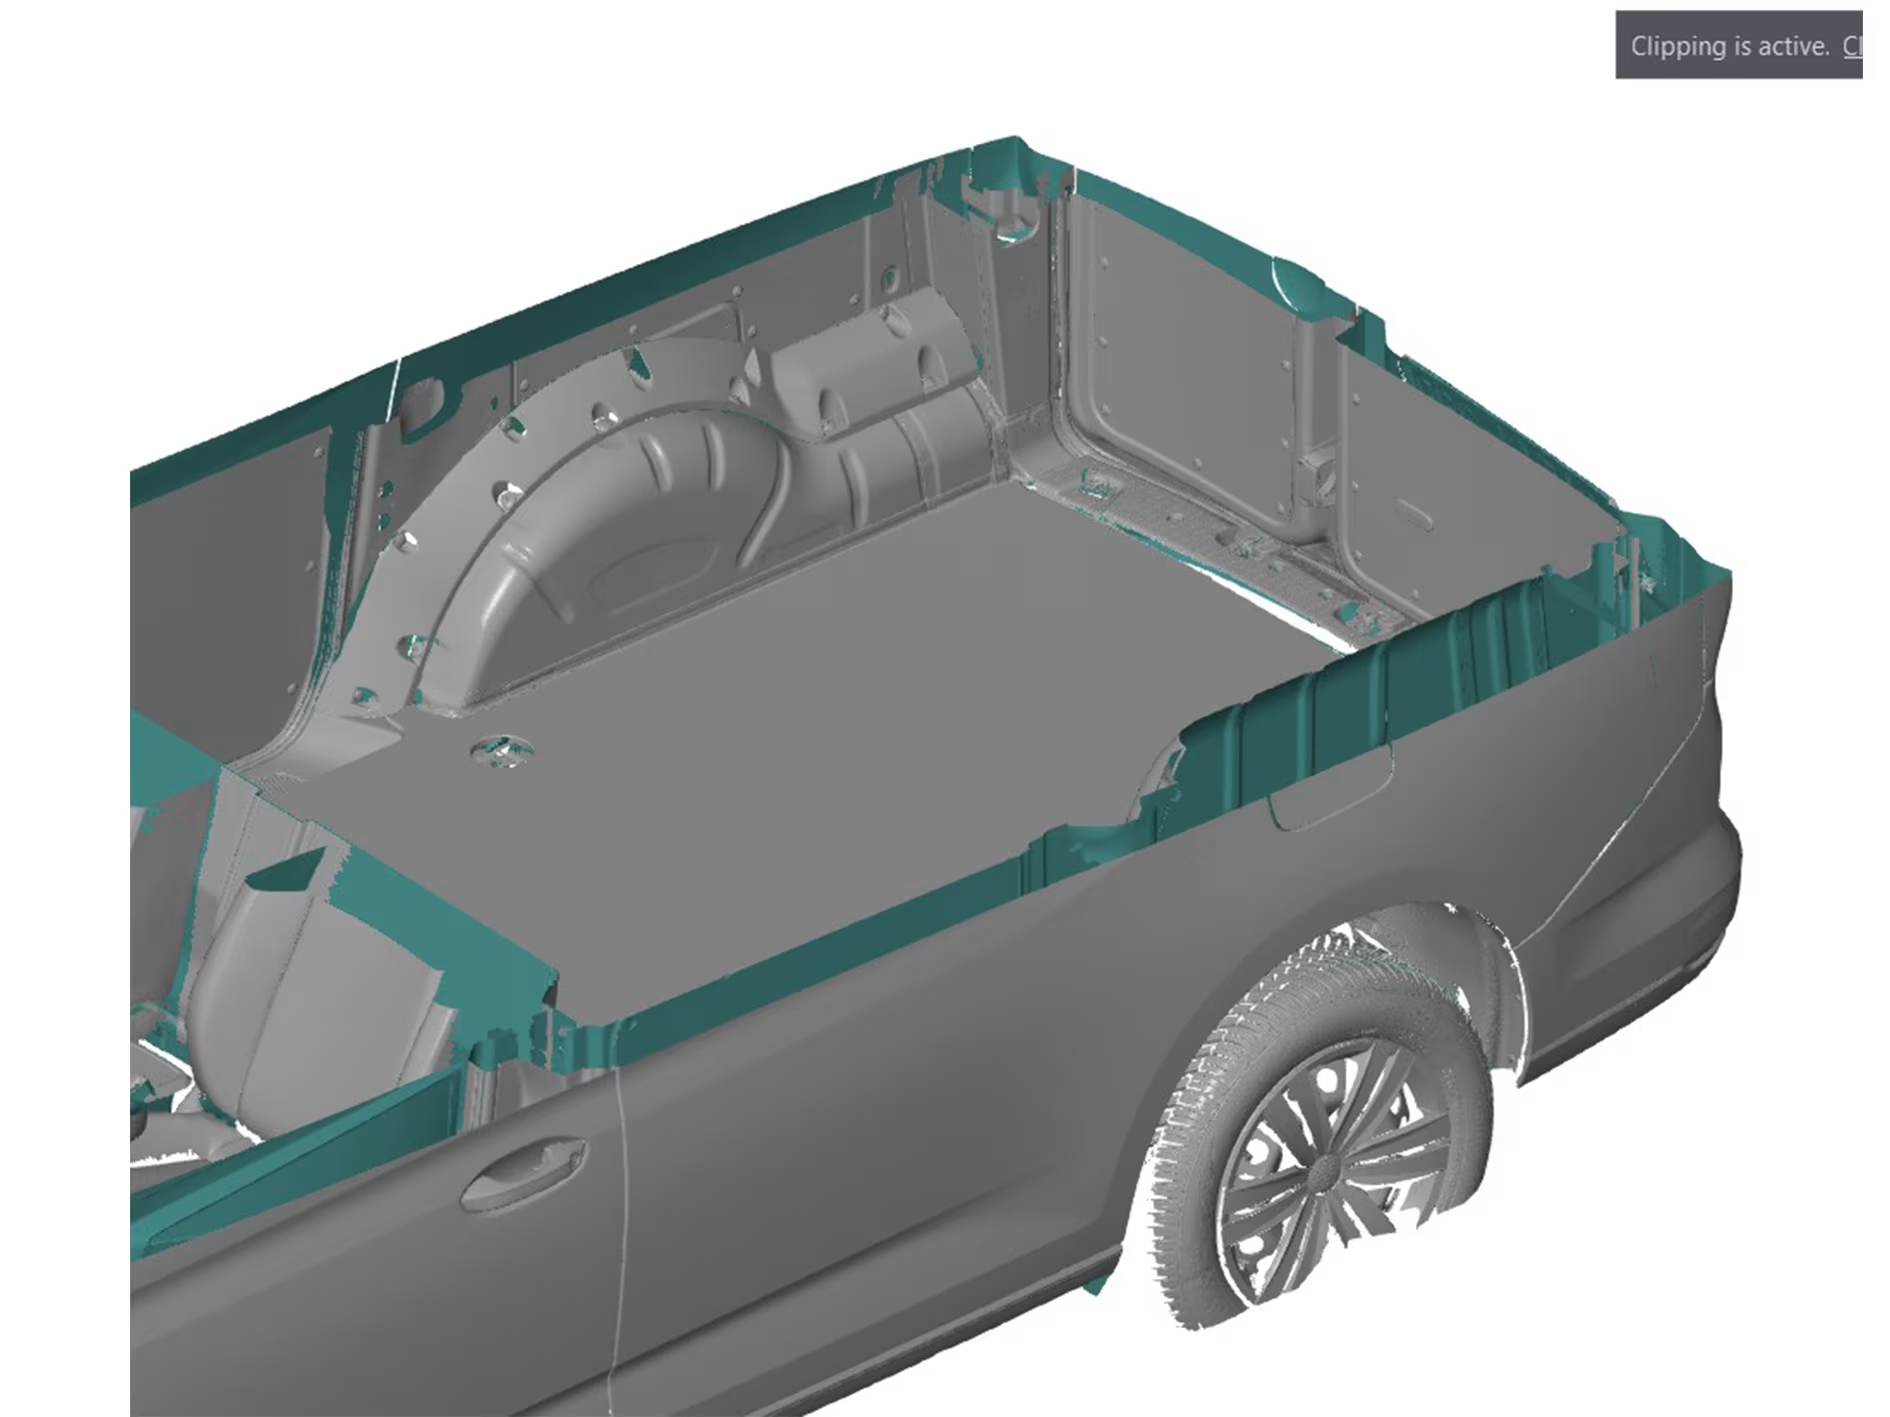
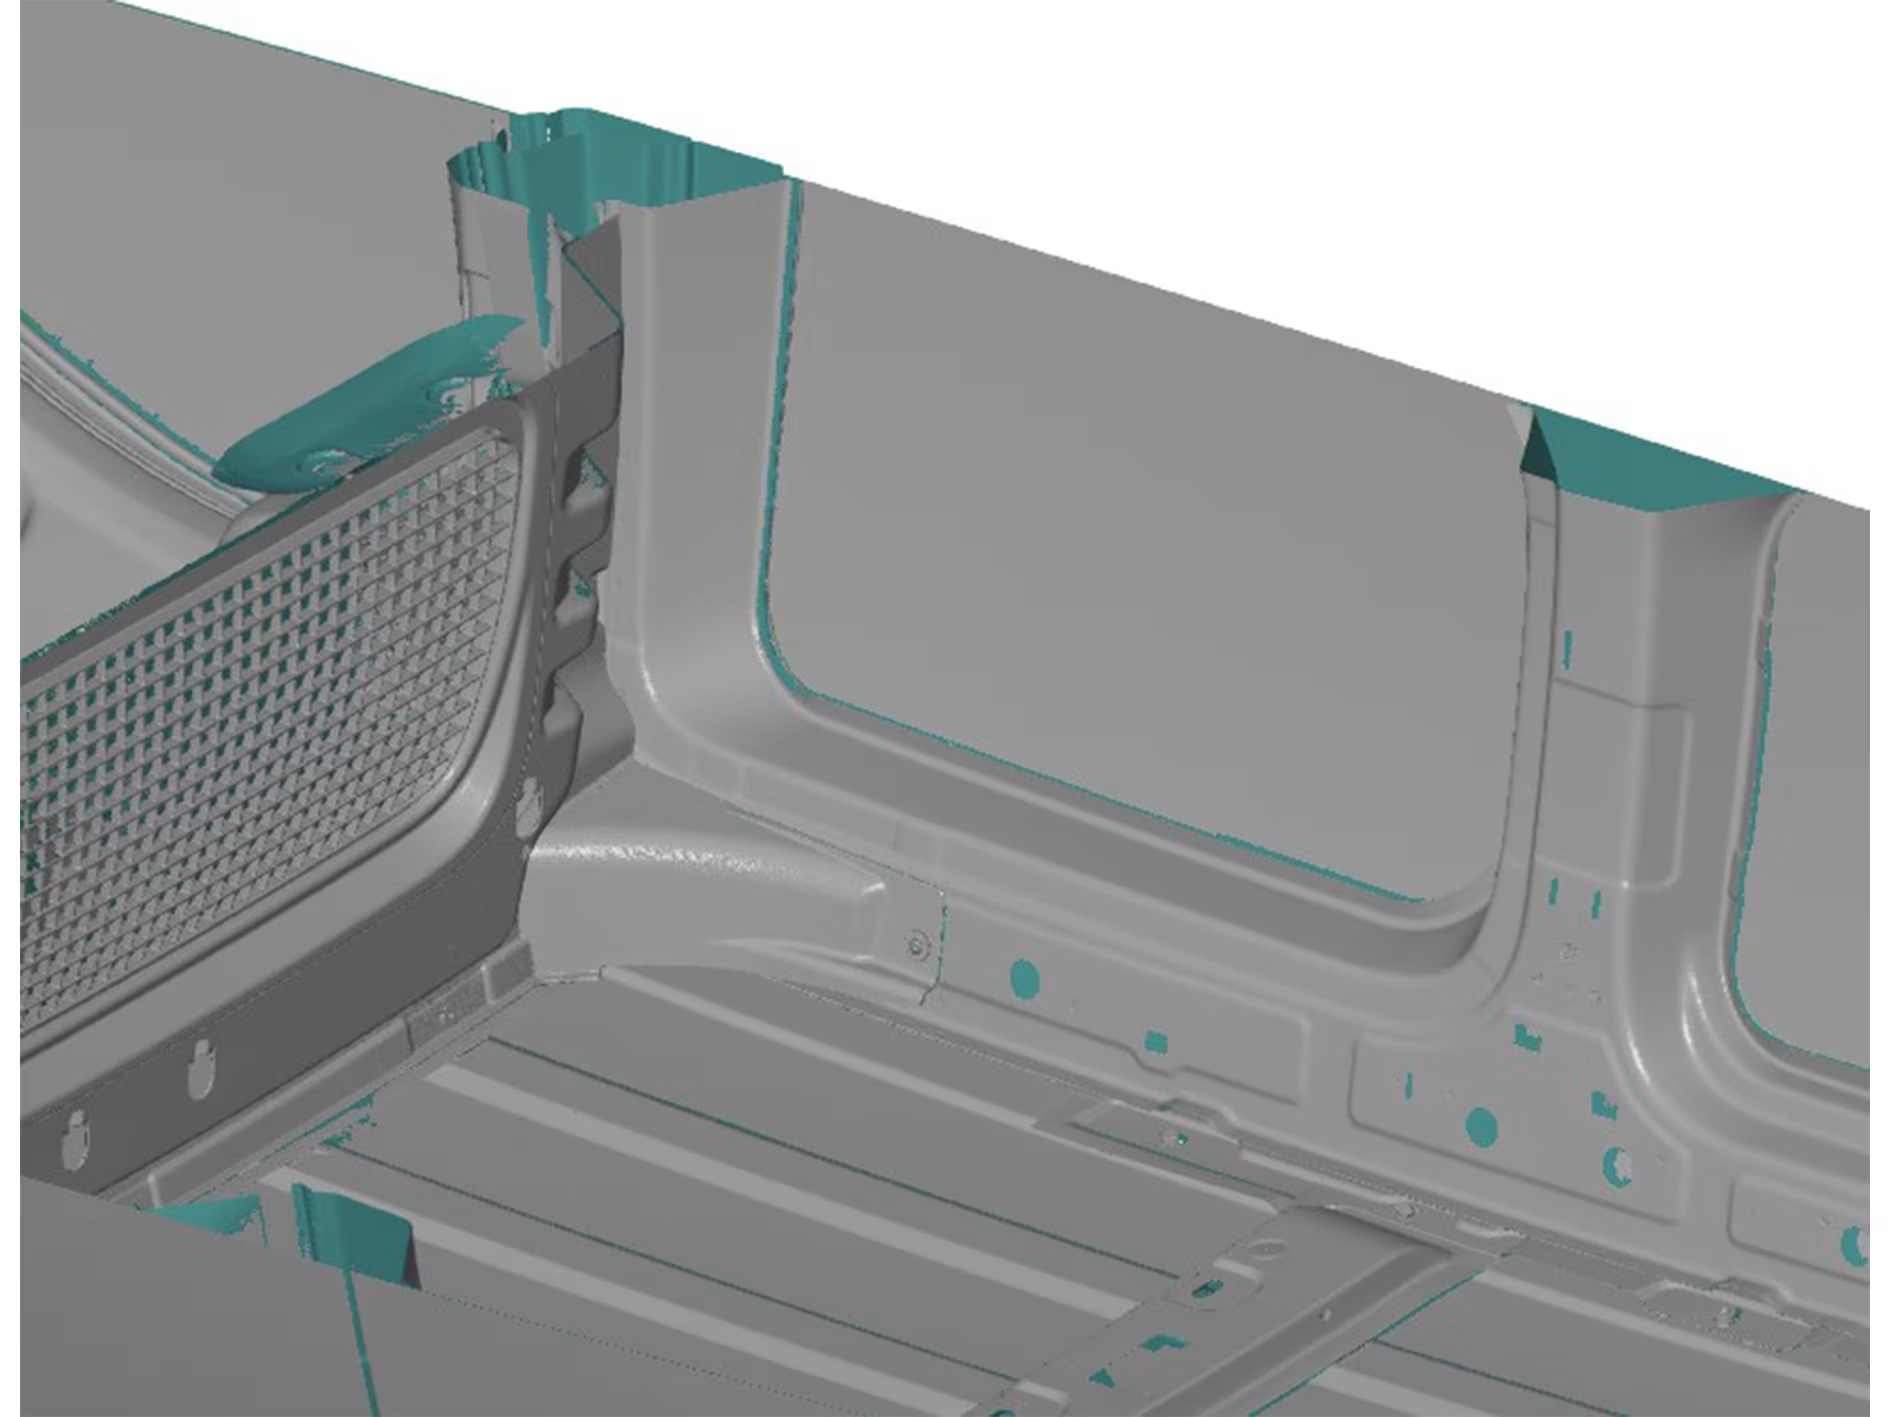
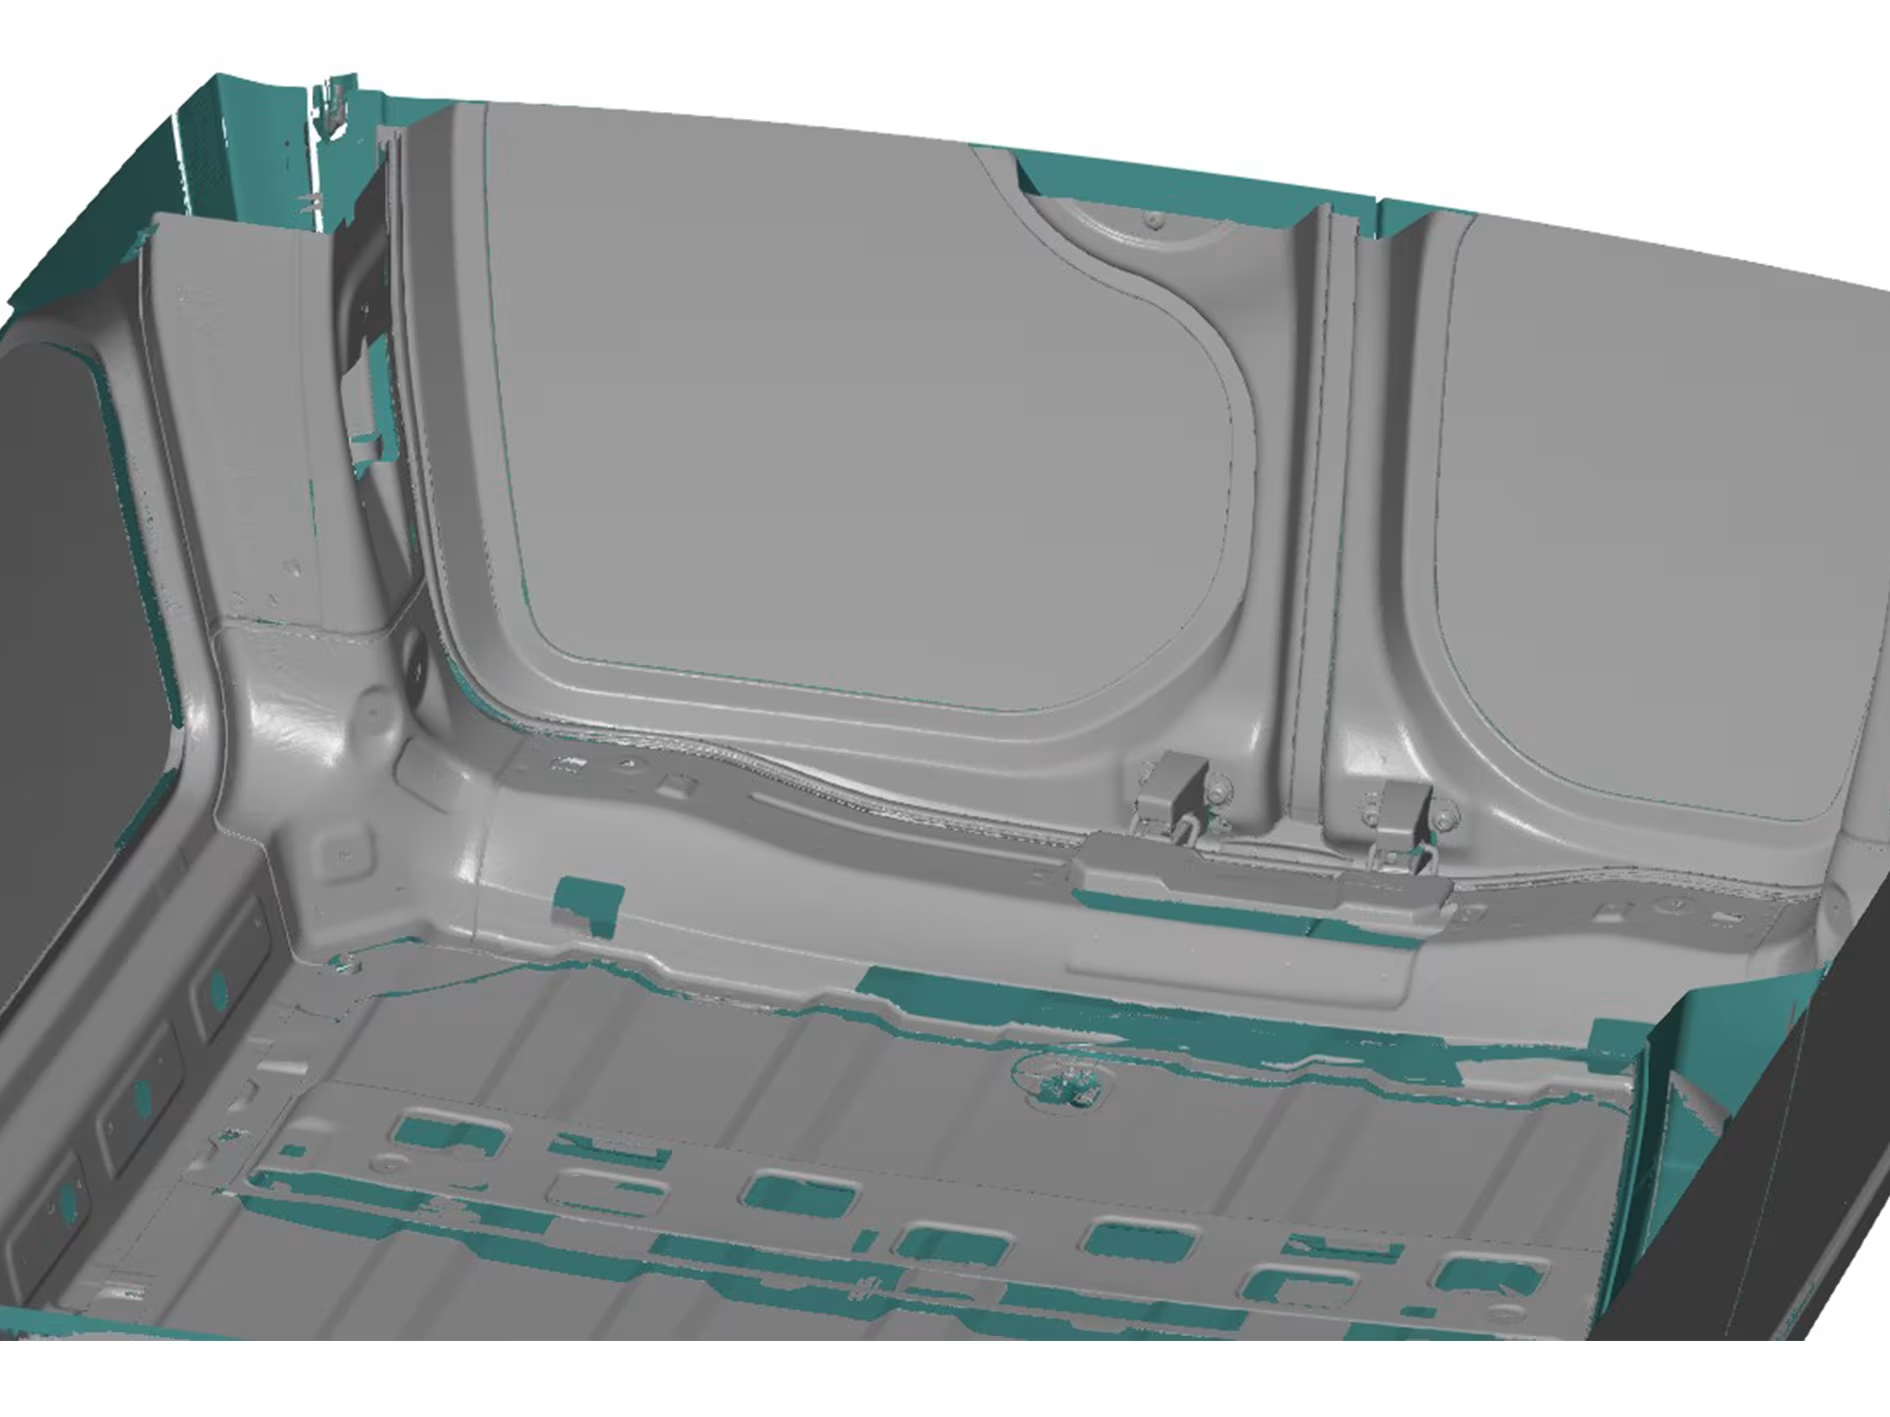
Scanning the cargo space
Probably the most interesting was the scanning of the cargo space because we can think of numerous applications for this. One common application is designing customised racks or compartments for specialized tradesmen.
Another fun application is designing a campervan. For both applications, it is important to capture both the geometry of the cargo space as well as possible mounting points, such as cavities in the body.
The scanning itself went pretty smoothly as the sides of the car were easily accessible. We did find that the arm of our tripod was only just long enough to scan this cargo space. However, for larger spaces, we still have the option of setting up the scanner in the cargo area itself with a smaller tripod.
Results
In the end, we then obtain an overall scan in which all the required details are present.

